- Projects & Experiments -
Beep Booper
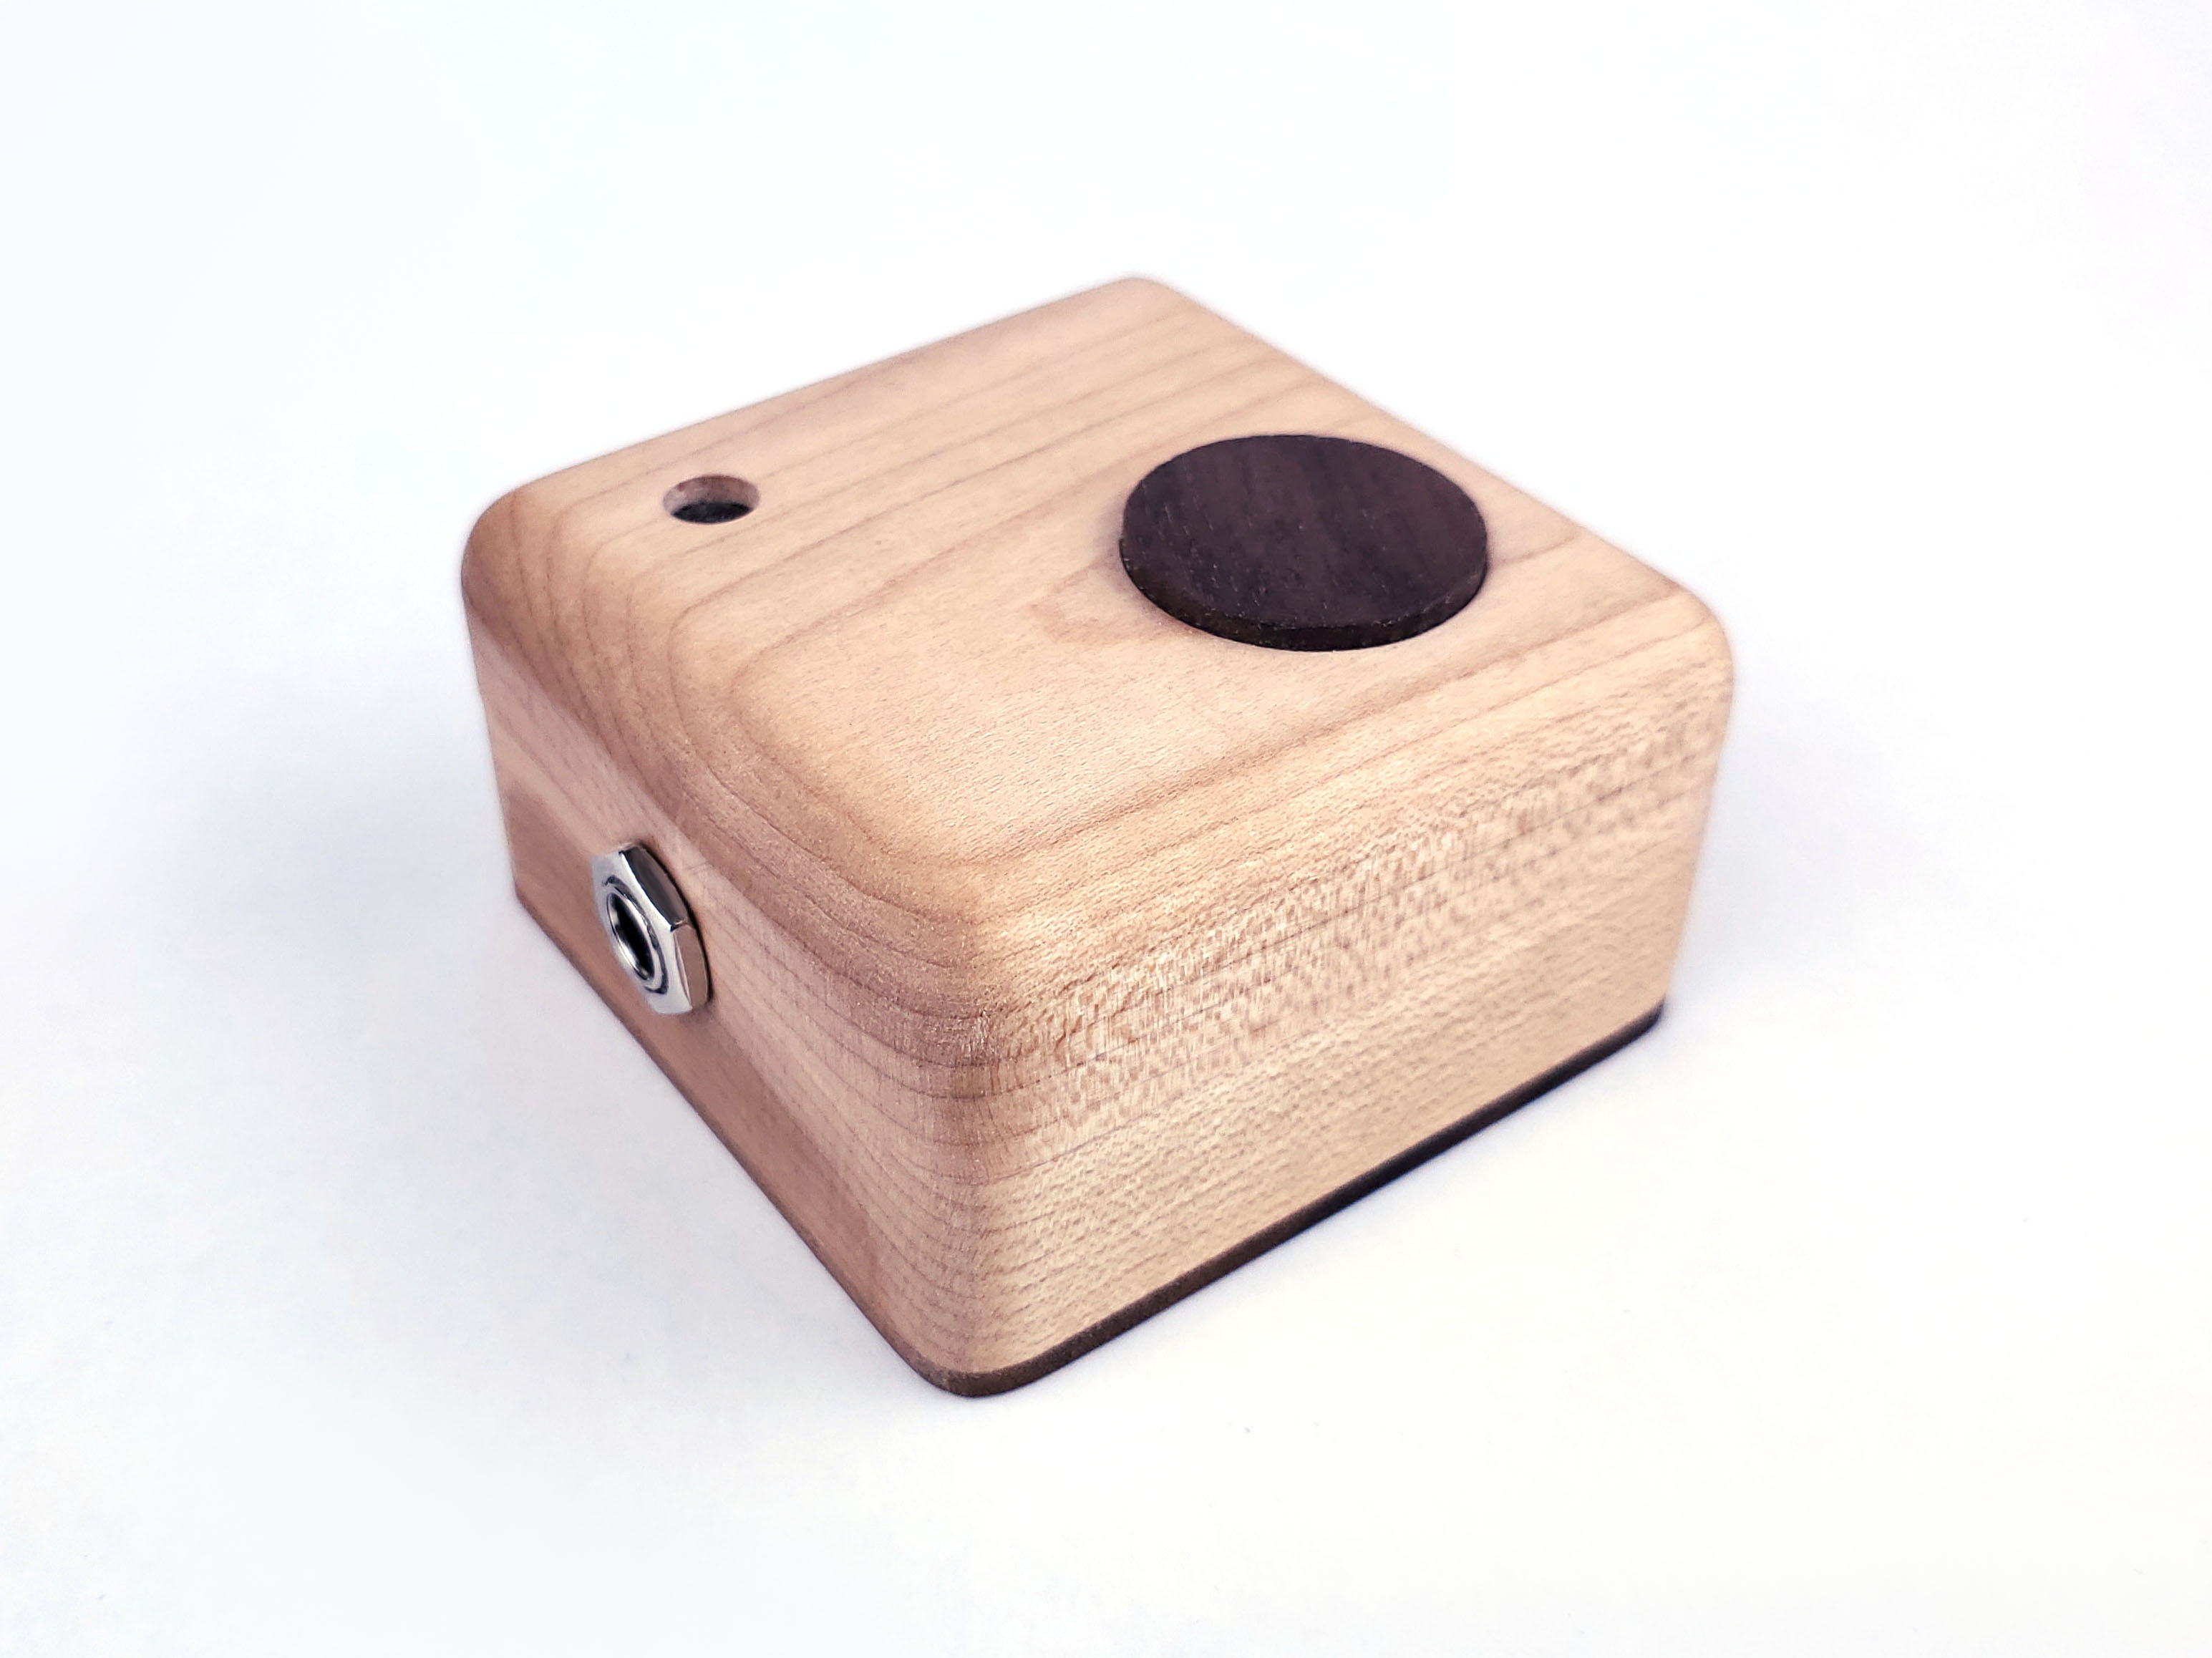
Pressure & Light Sensitive Sound Toy
This is very much a product of iteration and evolution. I never had a vision of what it would be until it was sitting in front of me.
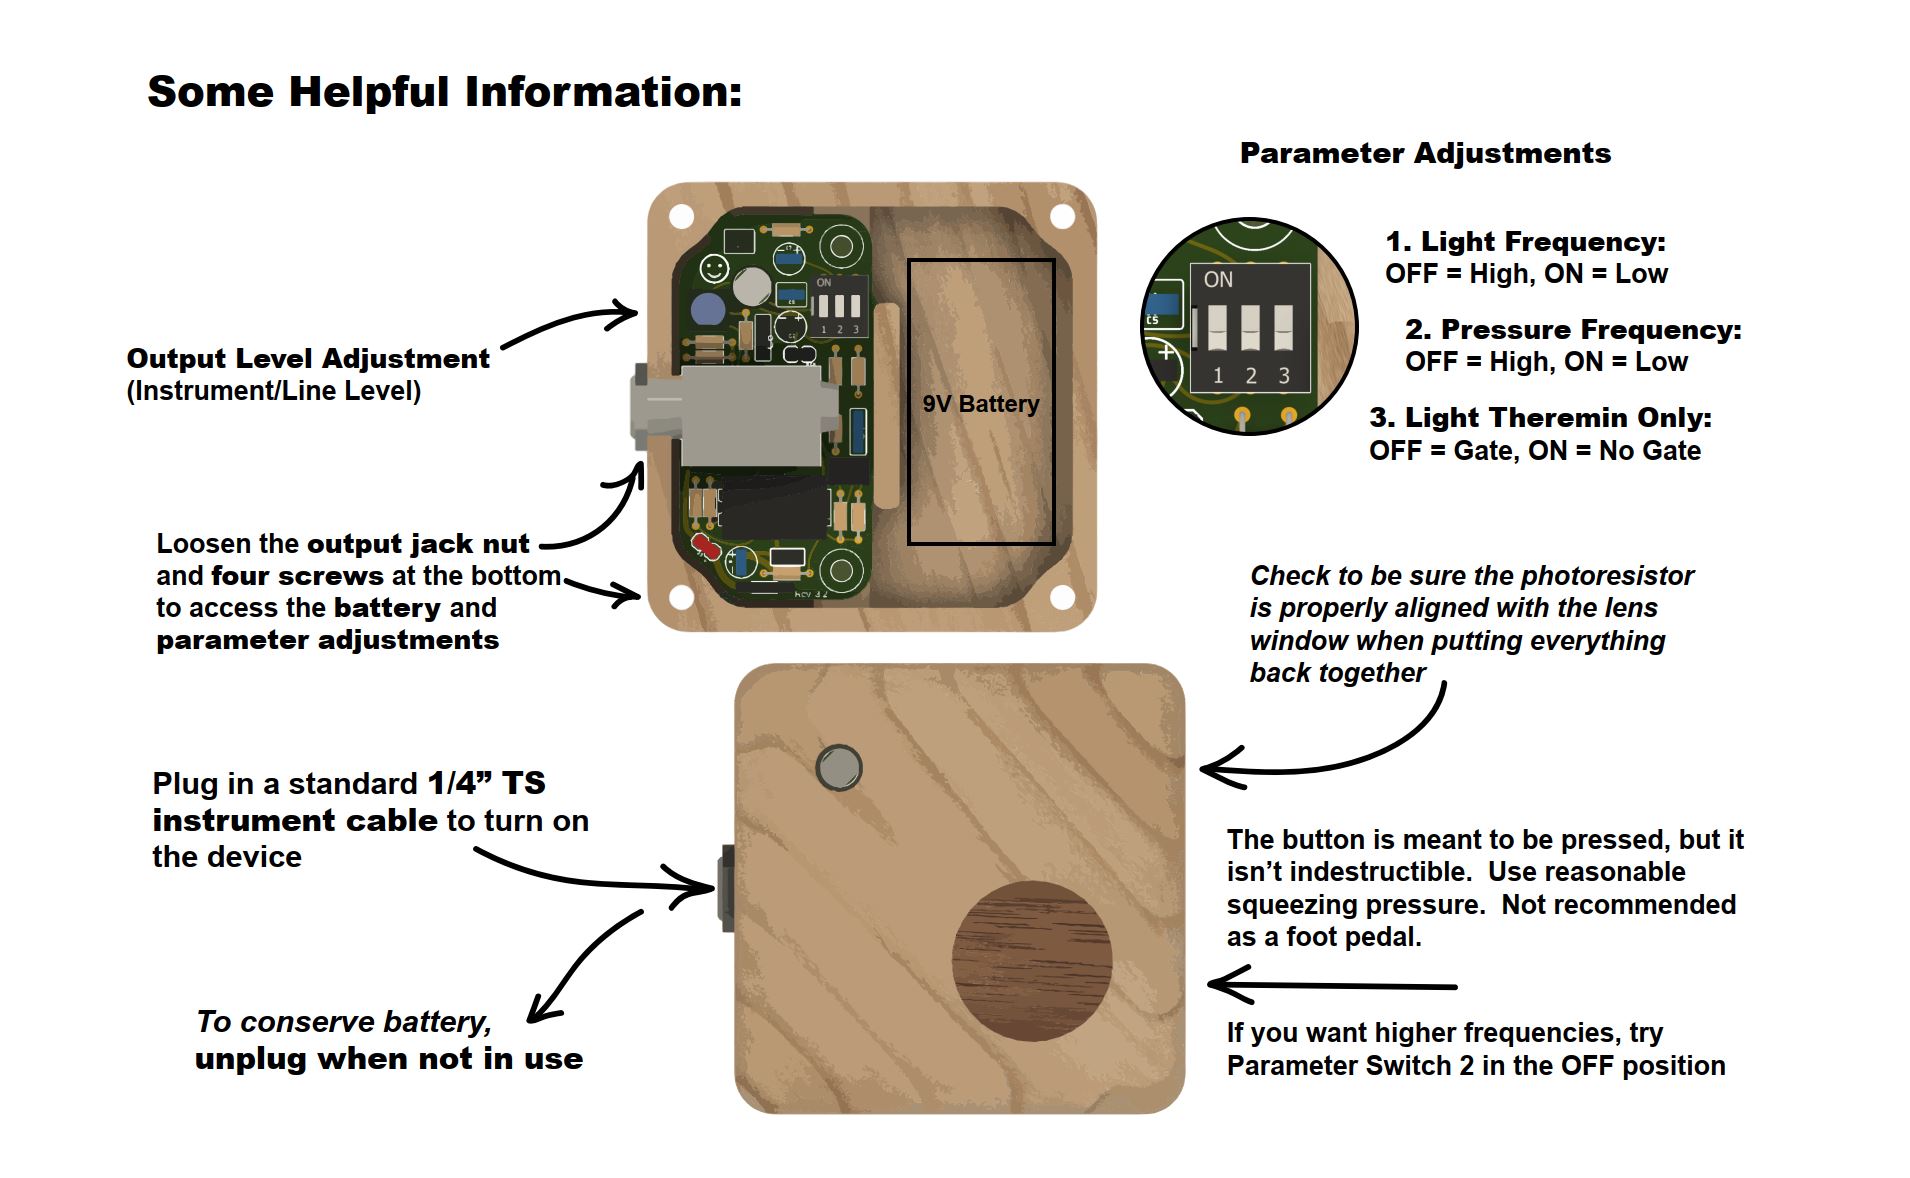
At its core it’s a light theremin with an LFO controlling an envelope with a square wave. Pressure on the button affects the rate of the LFO.
The result is that you can play light and pressure simultaneously and achieve interesting crossover/ring-modulating effects. It’s fun and surprisingly expressive.
Only sad part is that it’s pretty difficult to make. There are many custom fixtures and parts and the labor make it unreasonable for production. Still, it was a fun experiment.
For those curious, the pressure sensitive button is made from a material called ‘velostat’. When sandwiched between two copper plates, it acts like a pressure-sensitive resistor, decreasing resistance with increased pressure. This makes for super simple and expressive pressure-sensitive control.
Ribbon Microphone
Magnets & (Extremely Thin) Aluminum Foil
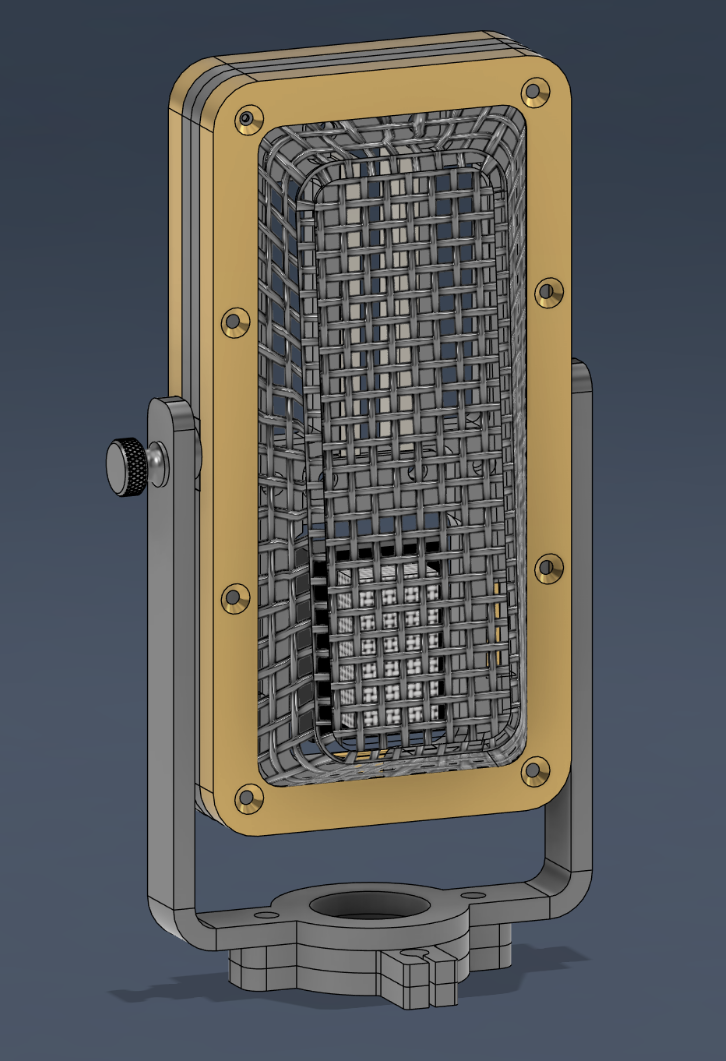
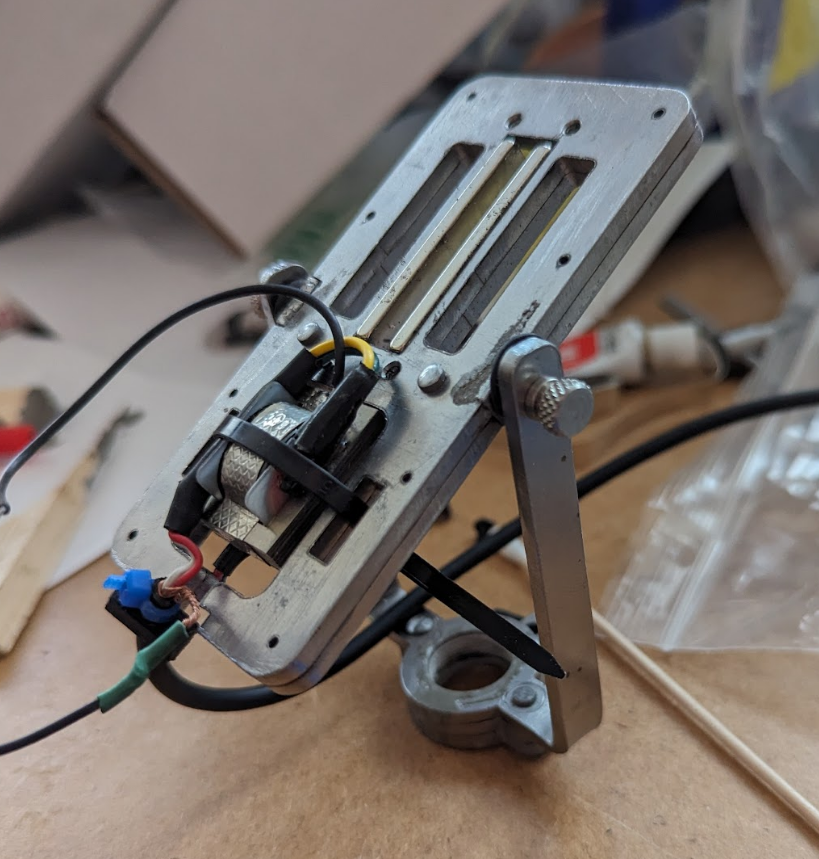
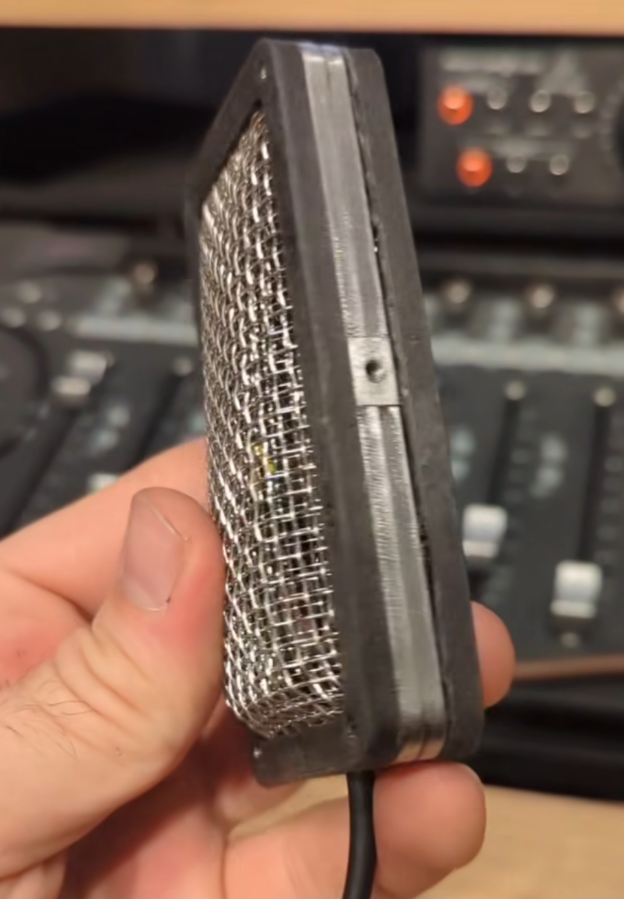
I saw a YouTube video of somebody making a ribbon microhpne and was surprised at how easy it seemed. I decided to try it out by 3D printing my own parts and it worked! Didn’t sound too great, but I got sound. Now I’ve begun incorporating laser-cut parts that I order custom from a manufacturer, hoping to arrive at a design that I’ll like and use.
I’m using 1.2 micrometer thick aluminum foil for the ribbon and an Edcor RMX11 1:37 transformer. The magnets are N42 neodymium 2” x 1/4” x 1/8”.
Pressing Paper Pulp
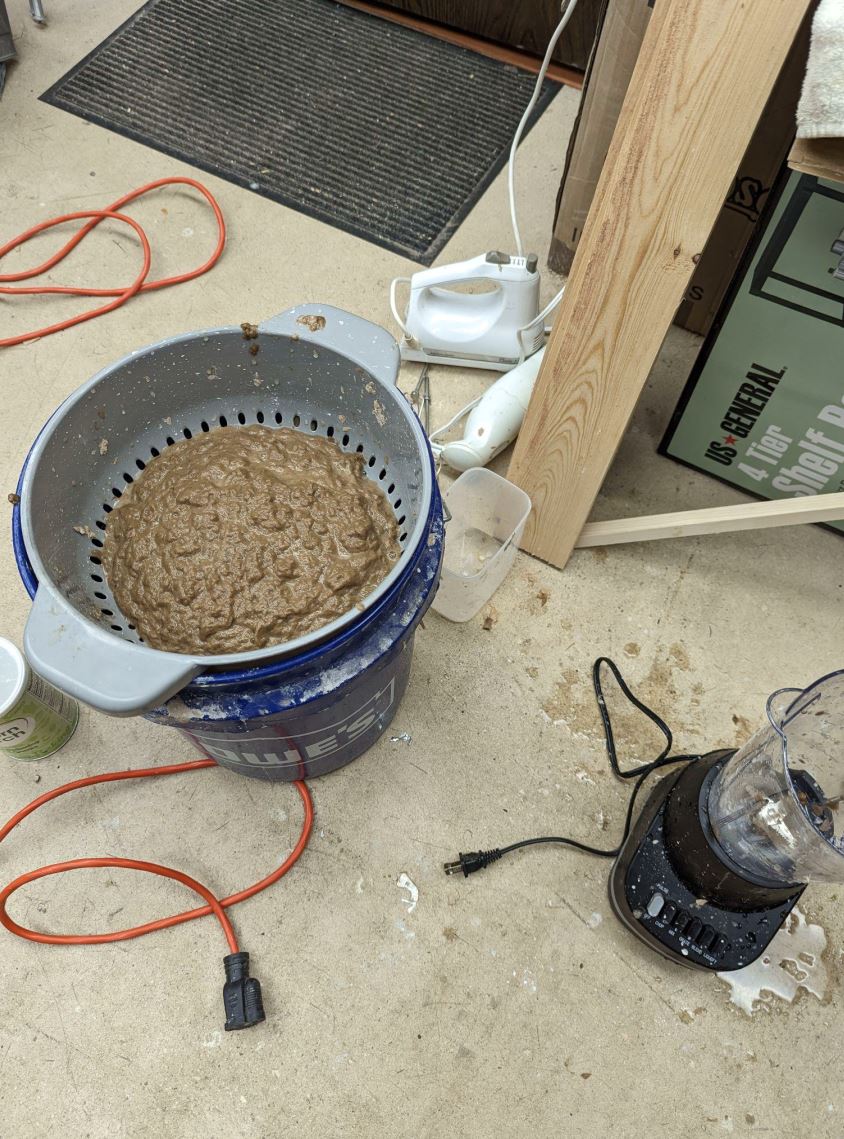
Soaking Cardboard & Ruining Blenders
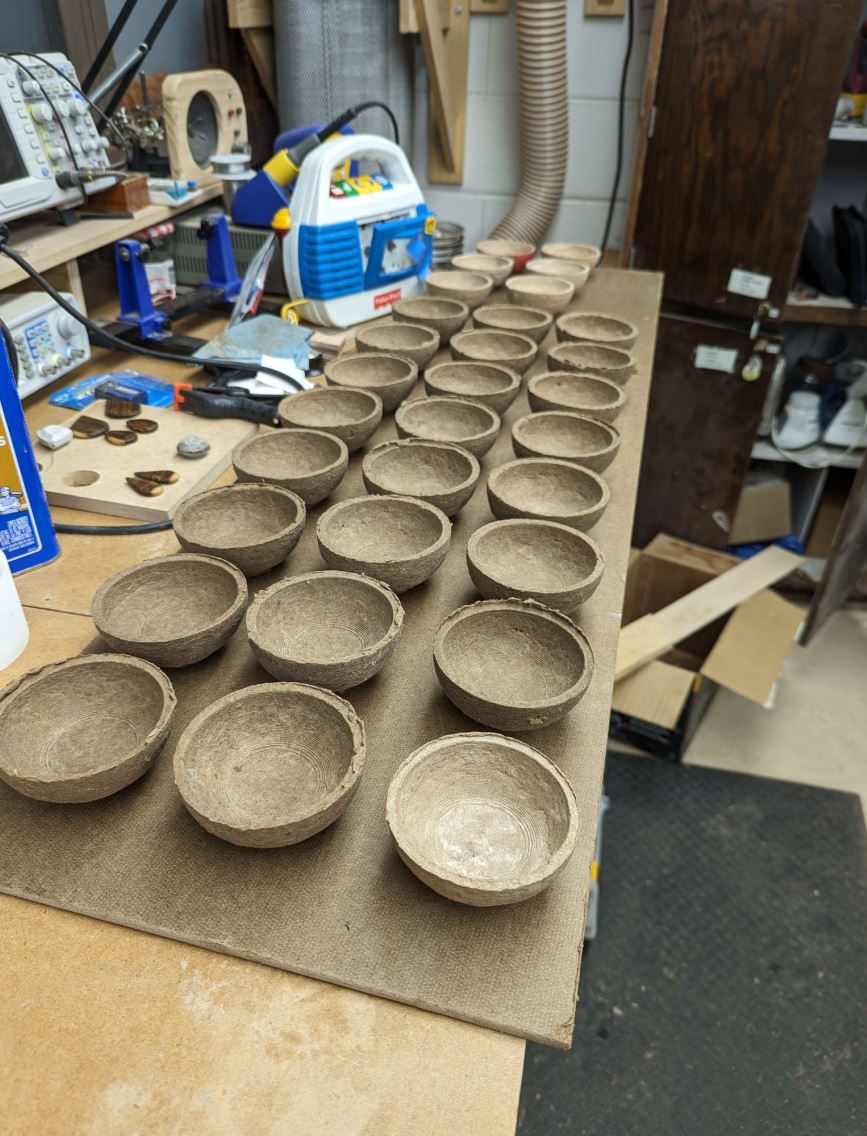
This time it wasn’t a YouTube video, it was an Instructable that put me on to this idea. I decided to try designing my own molds and experimenting with the medium. There are so many boxes in this world, might as well try and find good uses for them. I learned that the most ideal designs are fairly thin, but not so thin that it compromises the integrity of the design. I wonder about using much more pressure, perhaps with an aluminum mold and a hydraulic press. The material is sort of like a cross between wood and cardboard. It’s not waterproof at all, but can be sealed (like particleboard). Have an idea for what could be made with this material? Let me know!
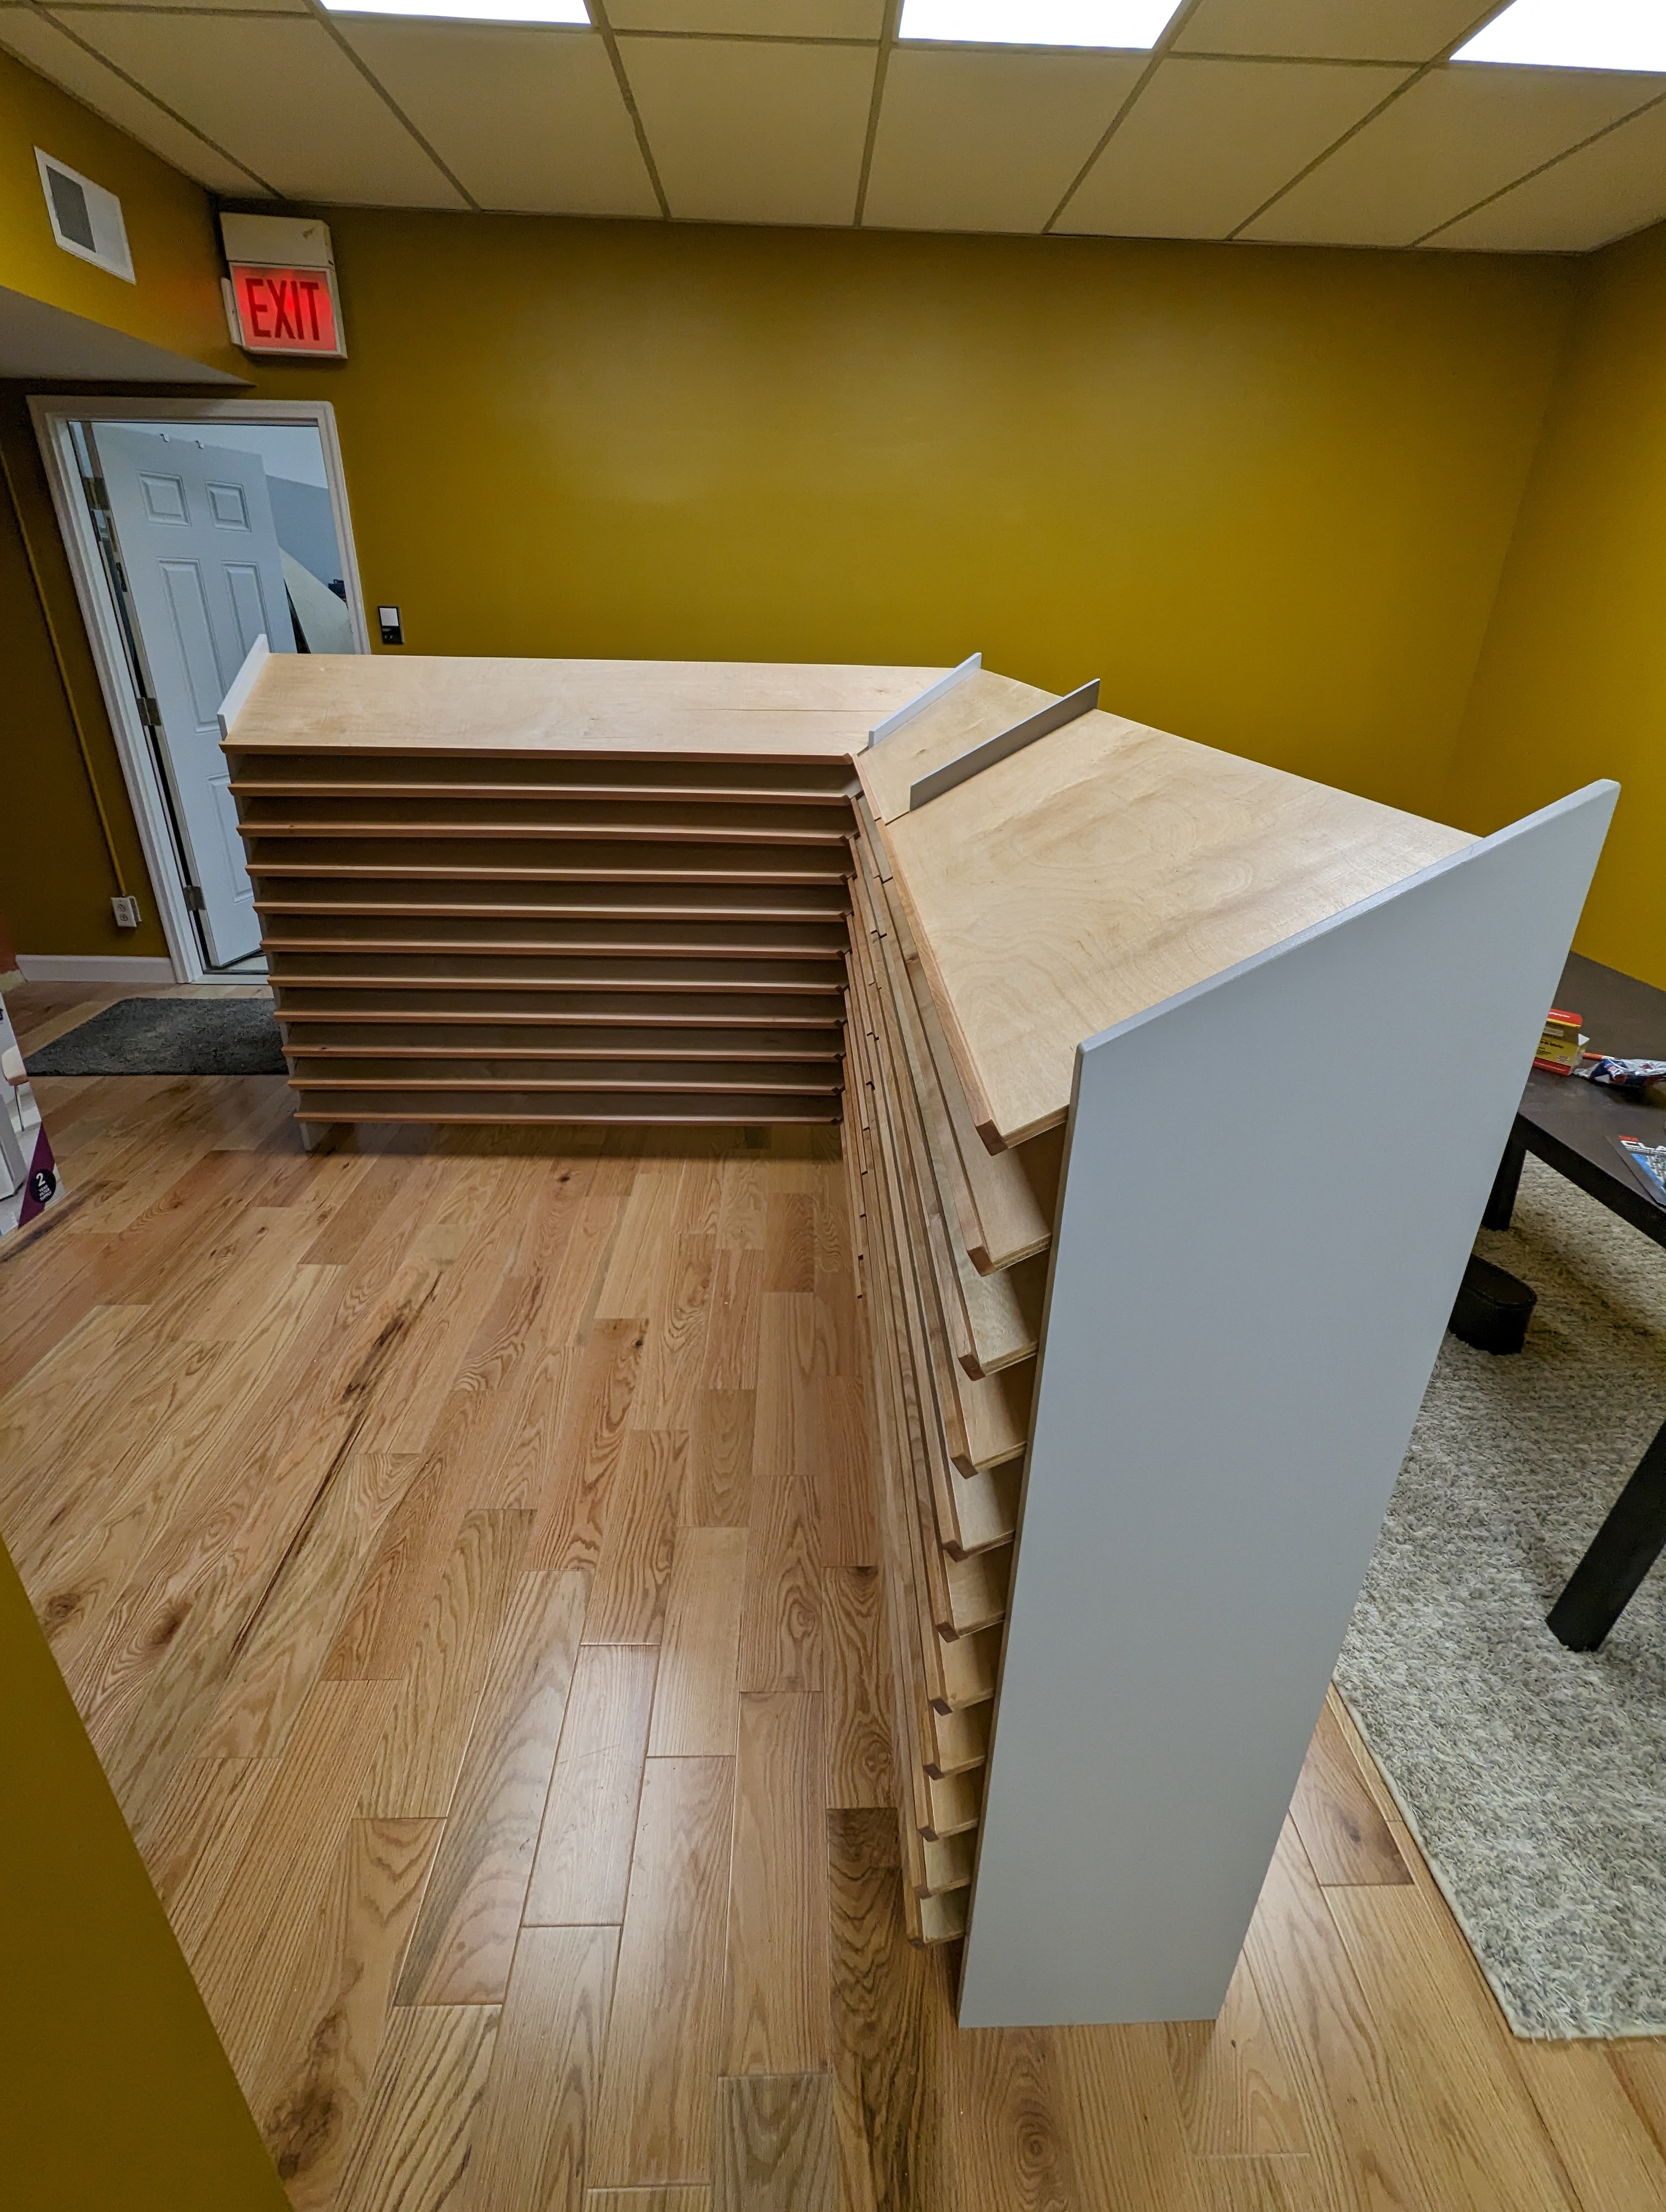
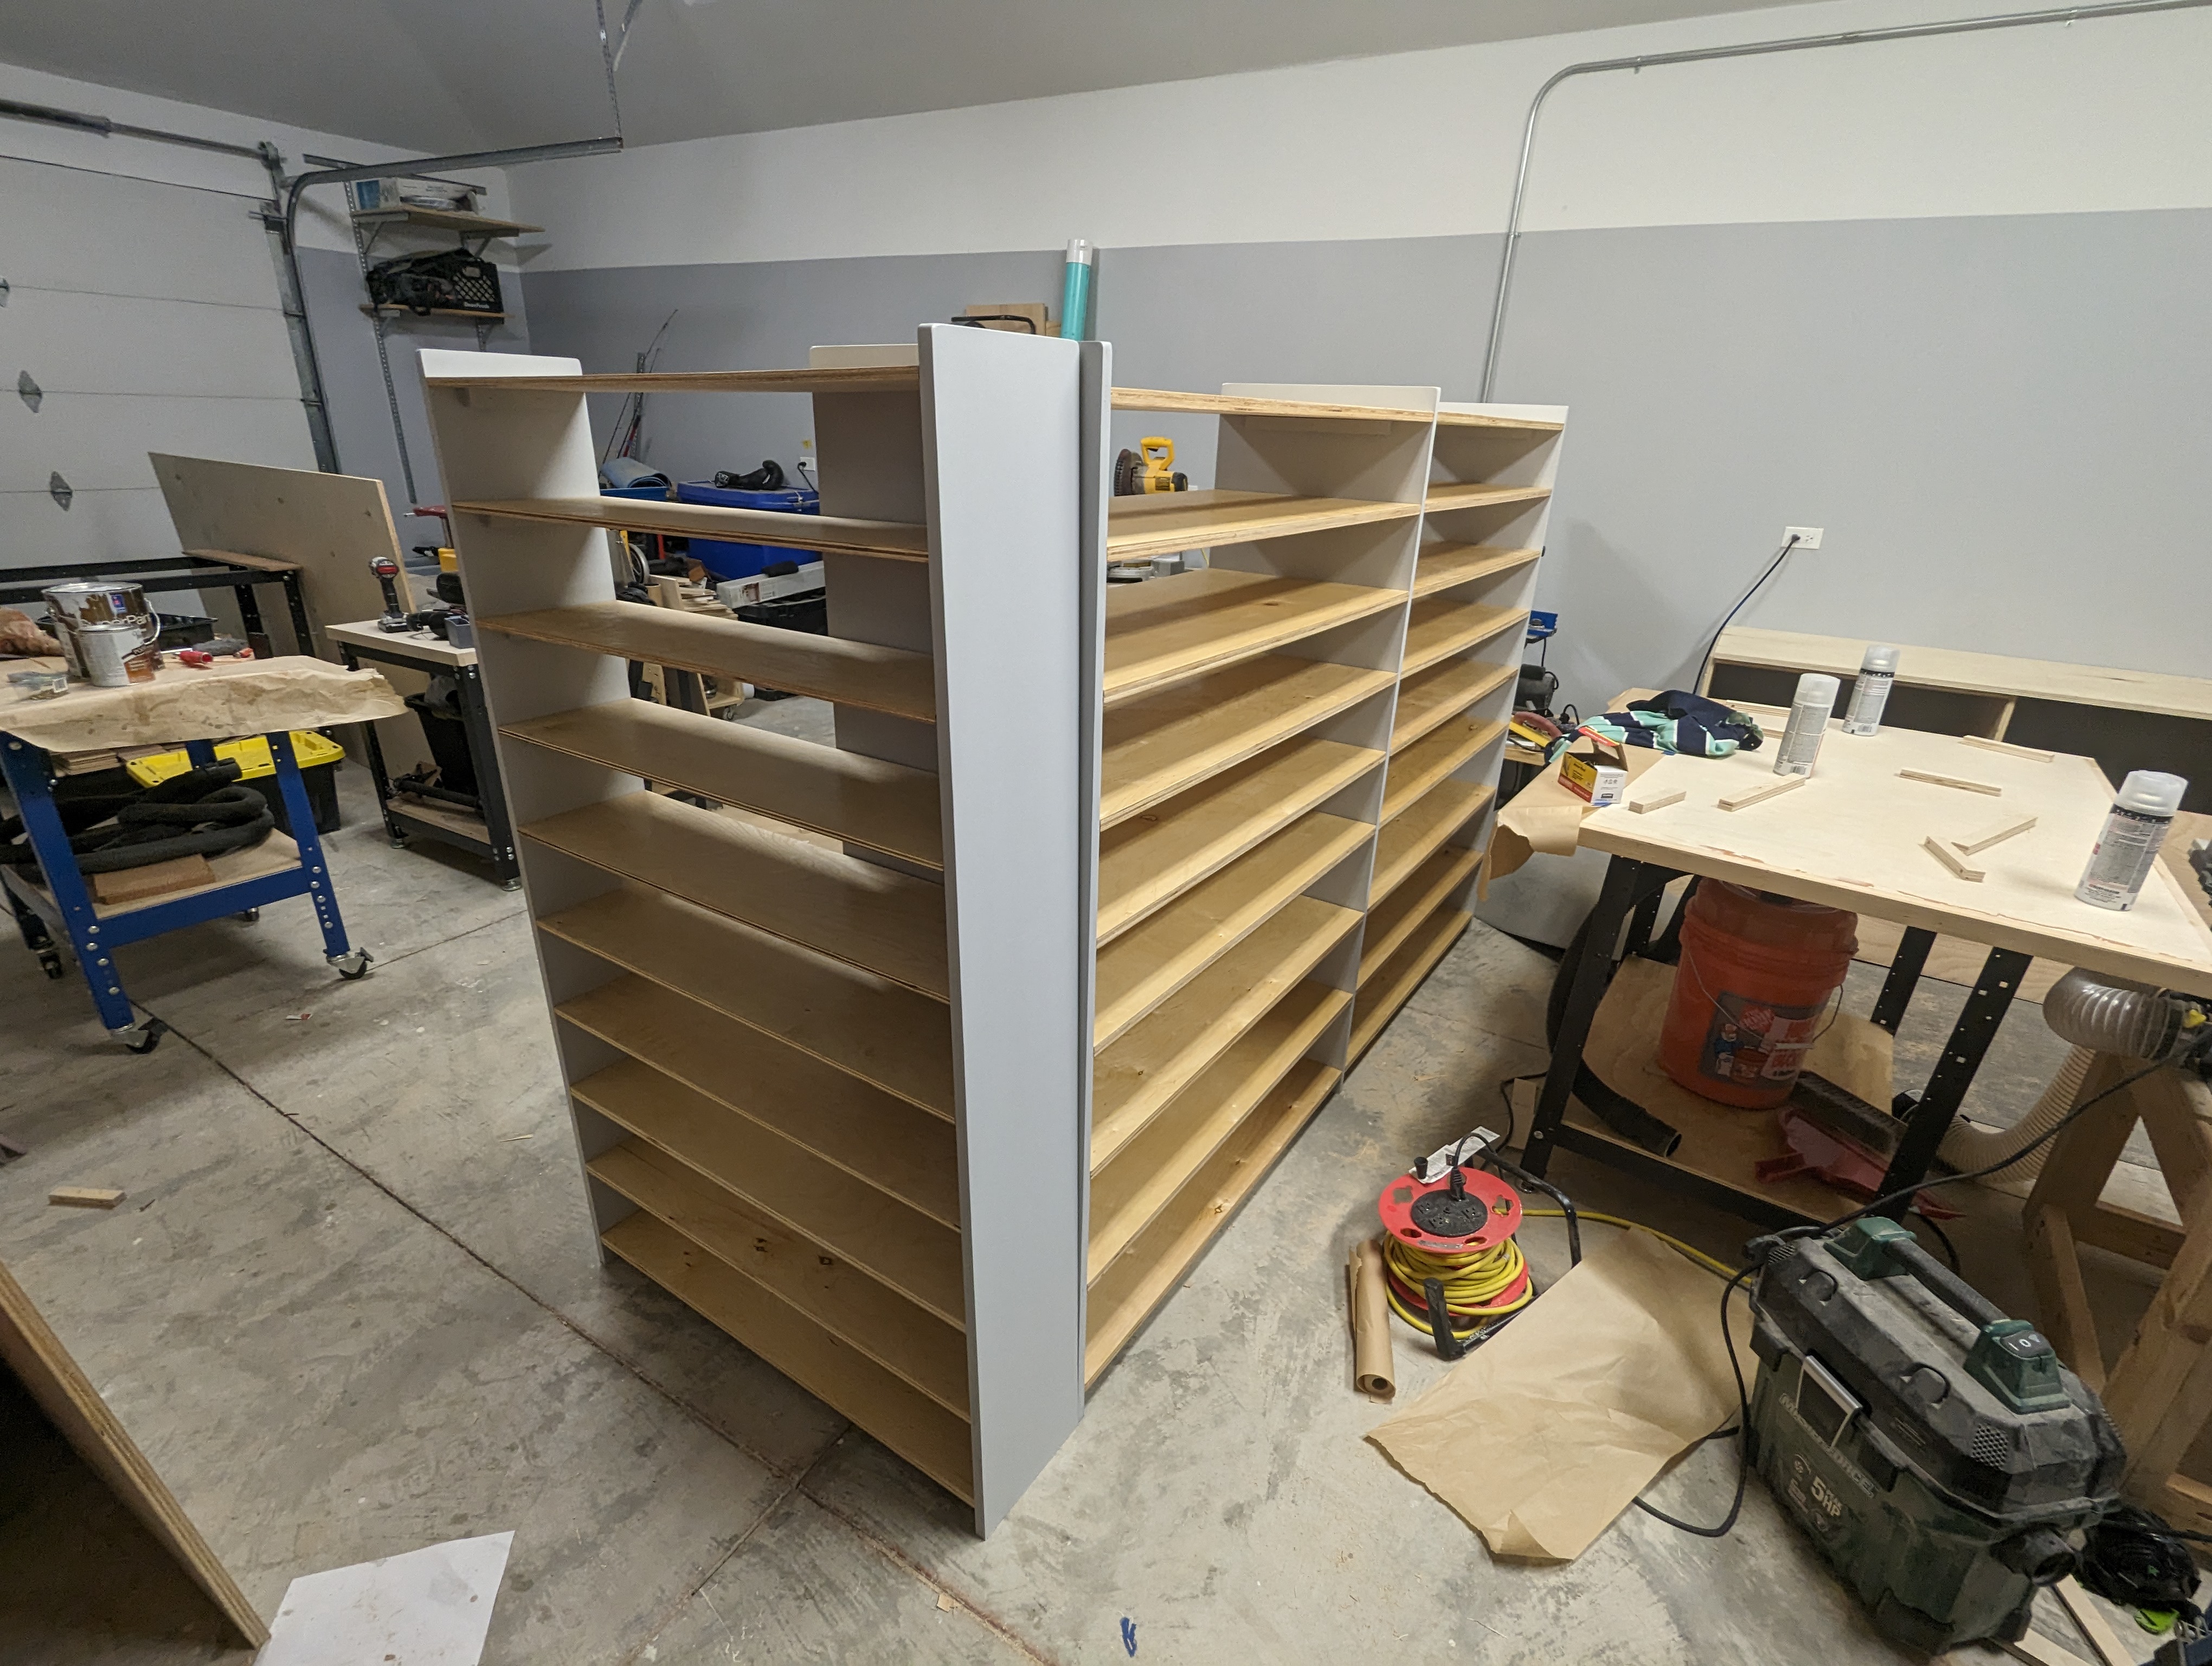
Pedal Shelf for The Loft
Compound Angles on Compound Angles...
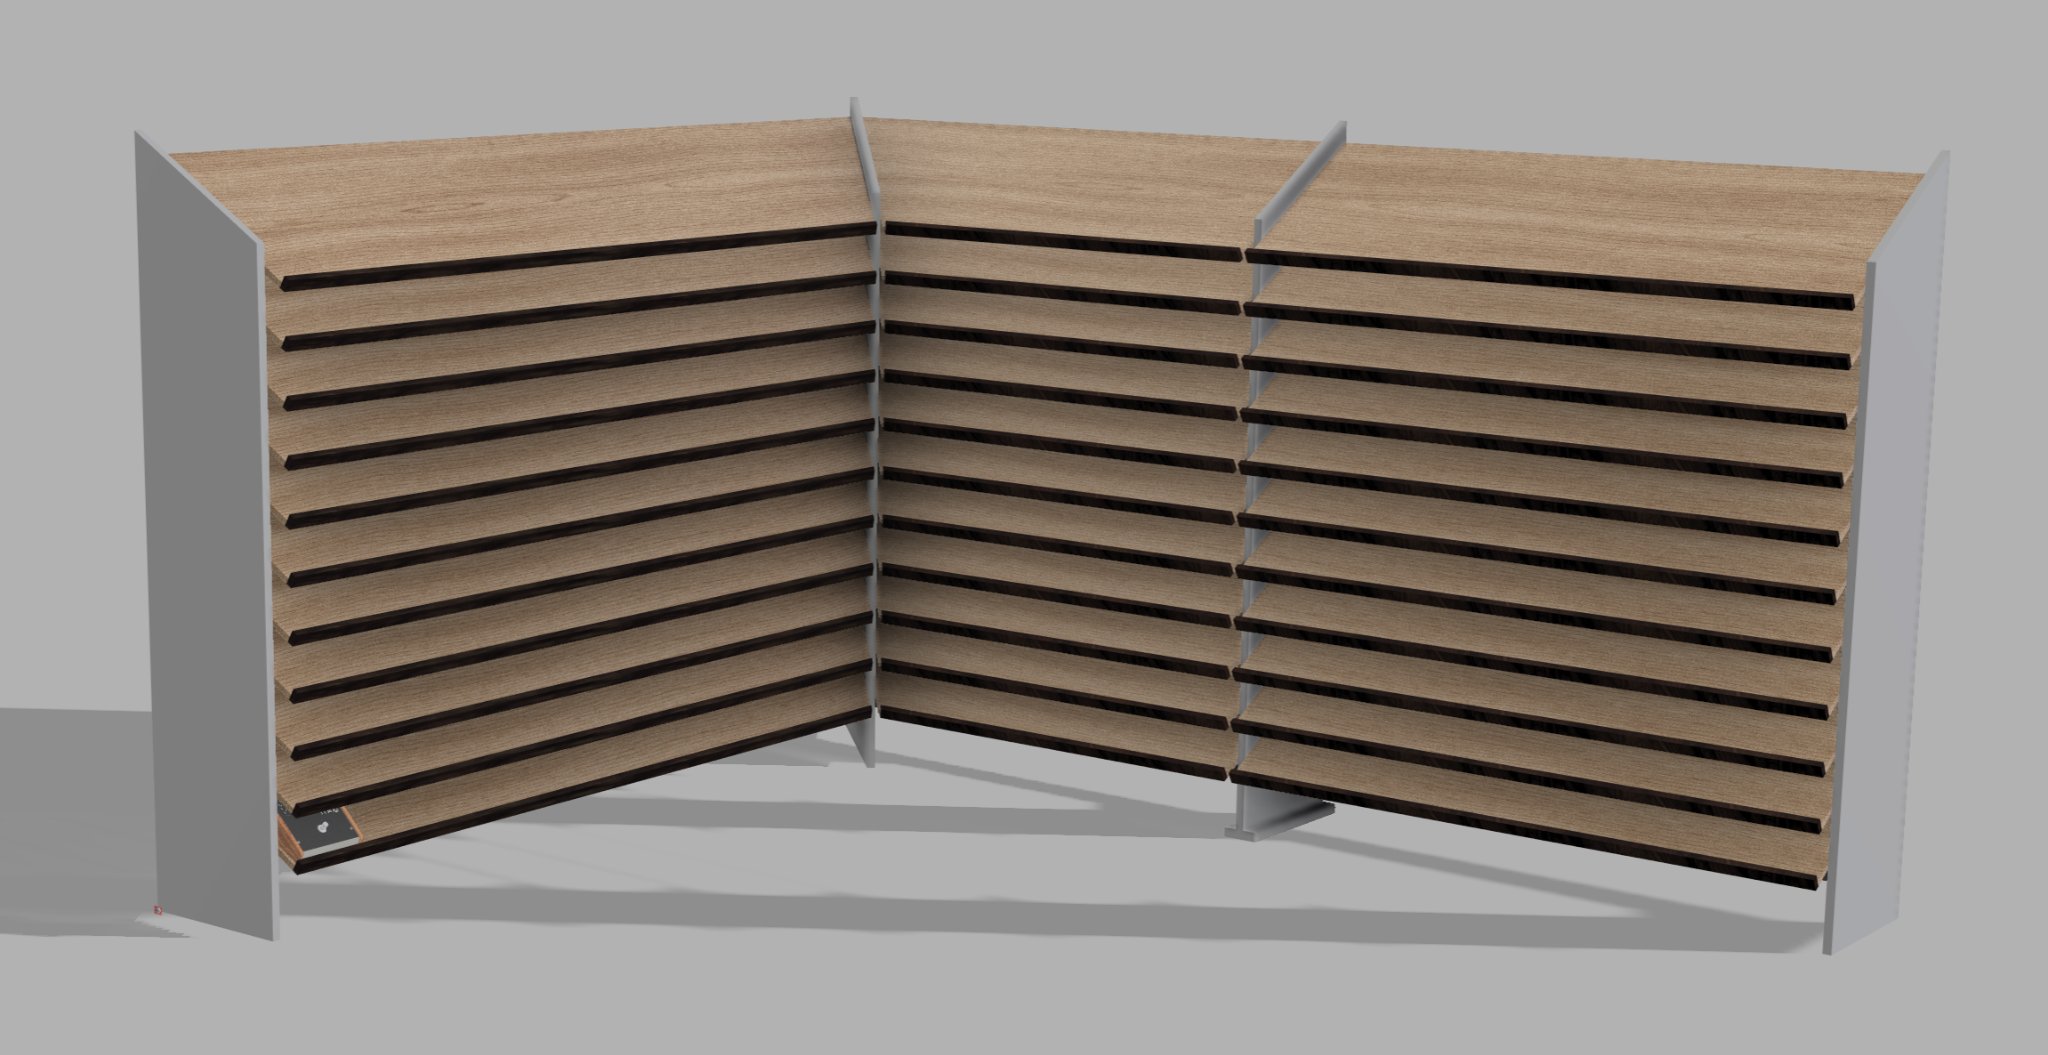
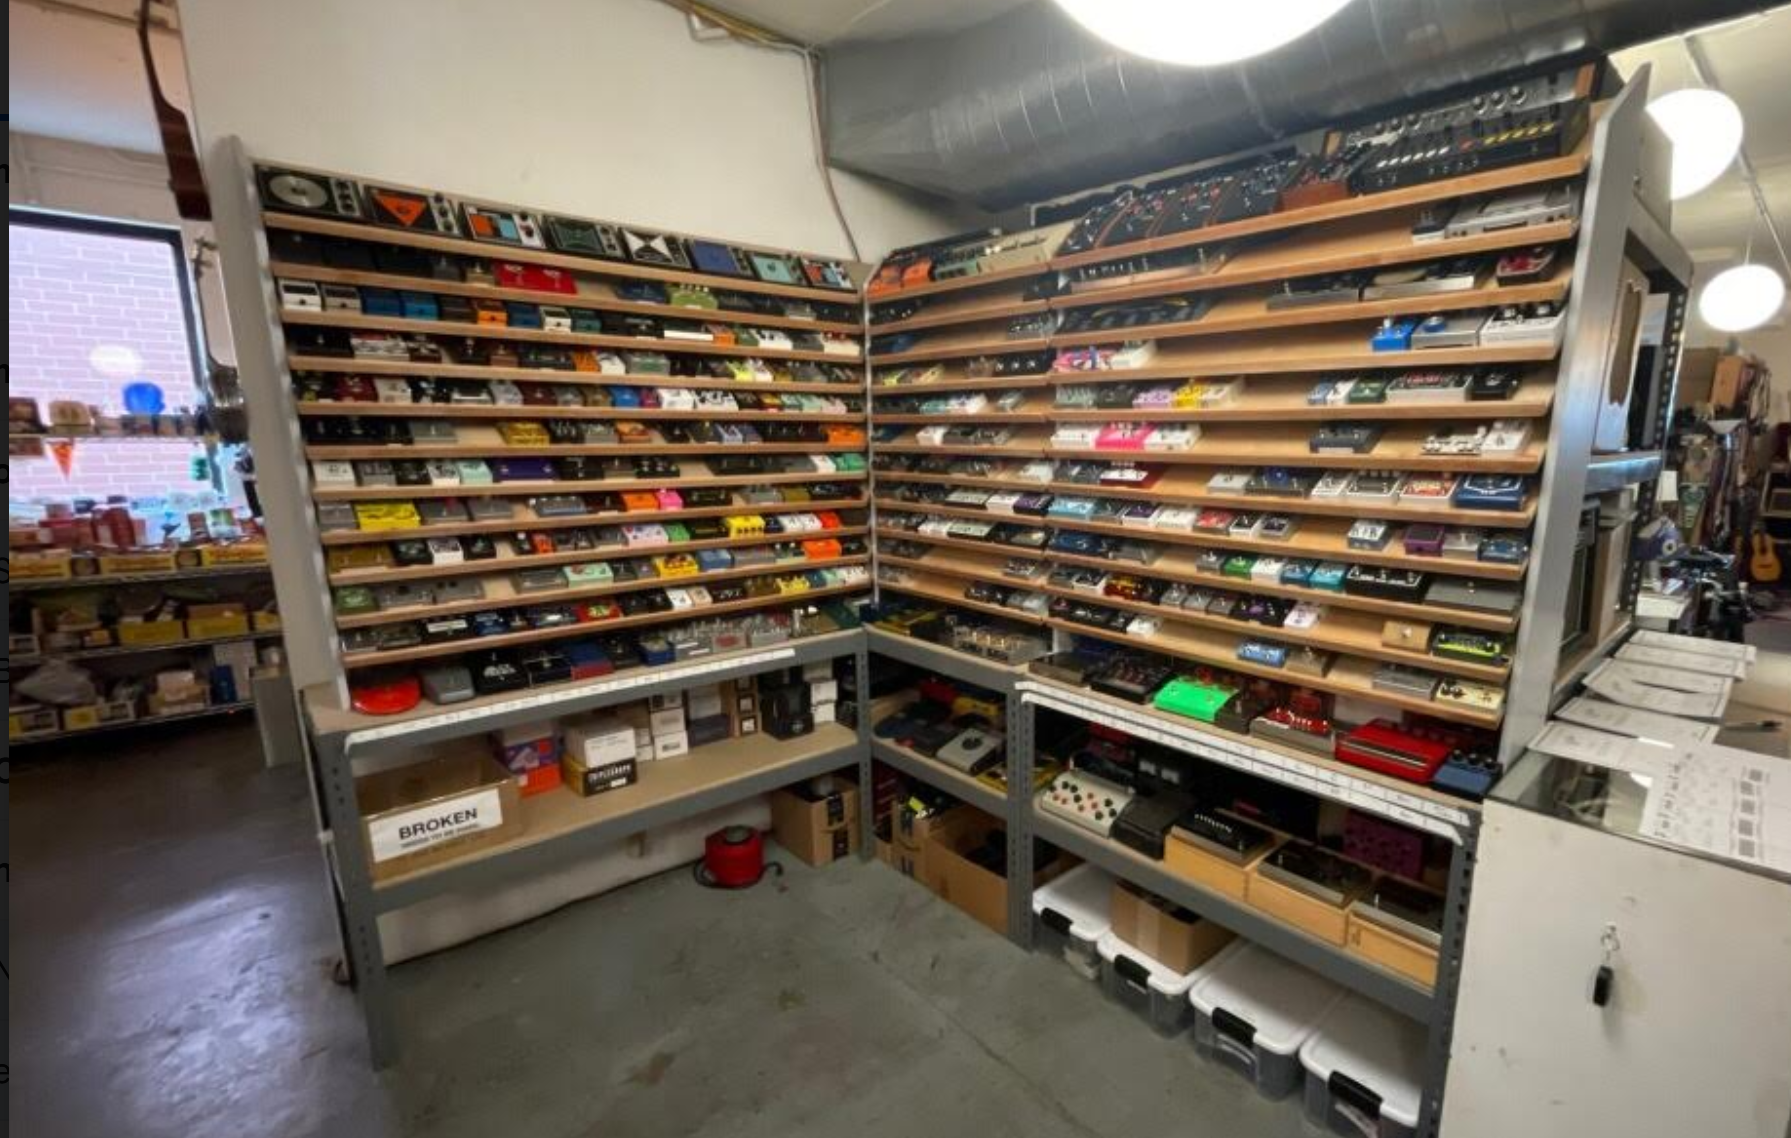
I was commissioned to build this pedal shelf for Wilco’s recording studio.
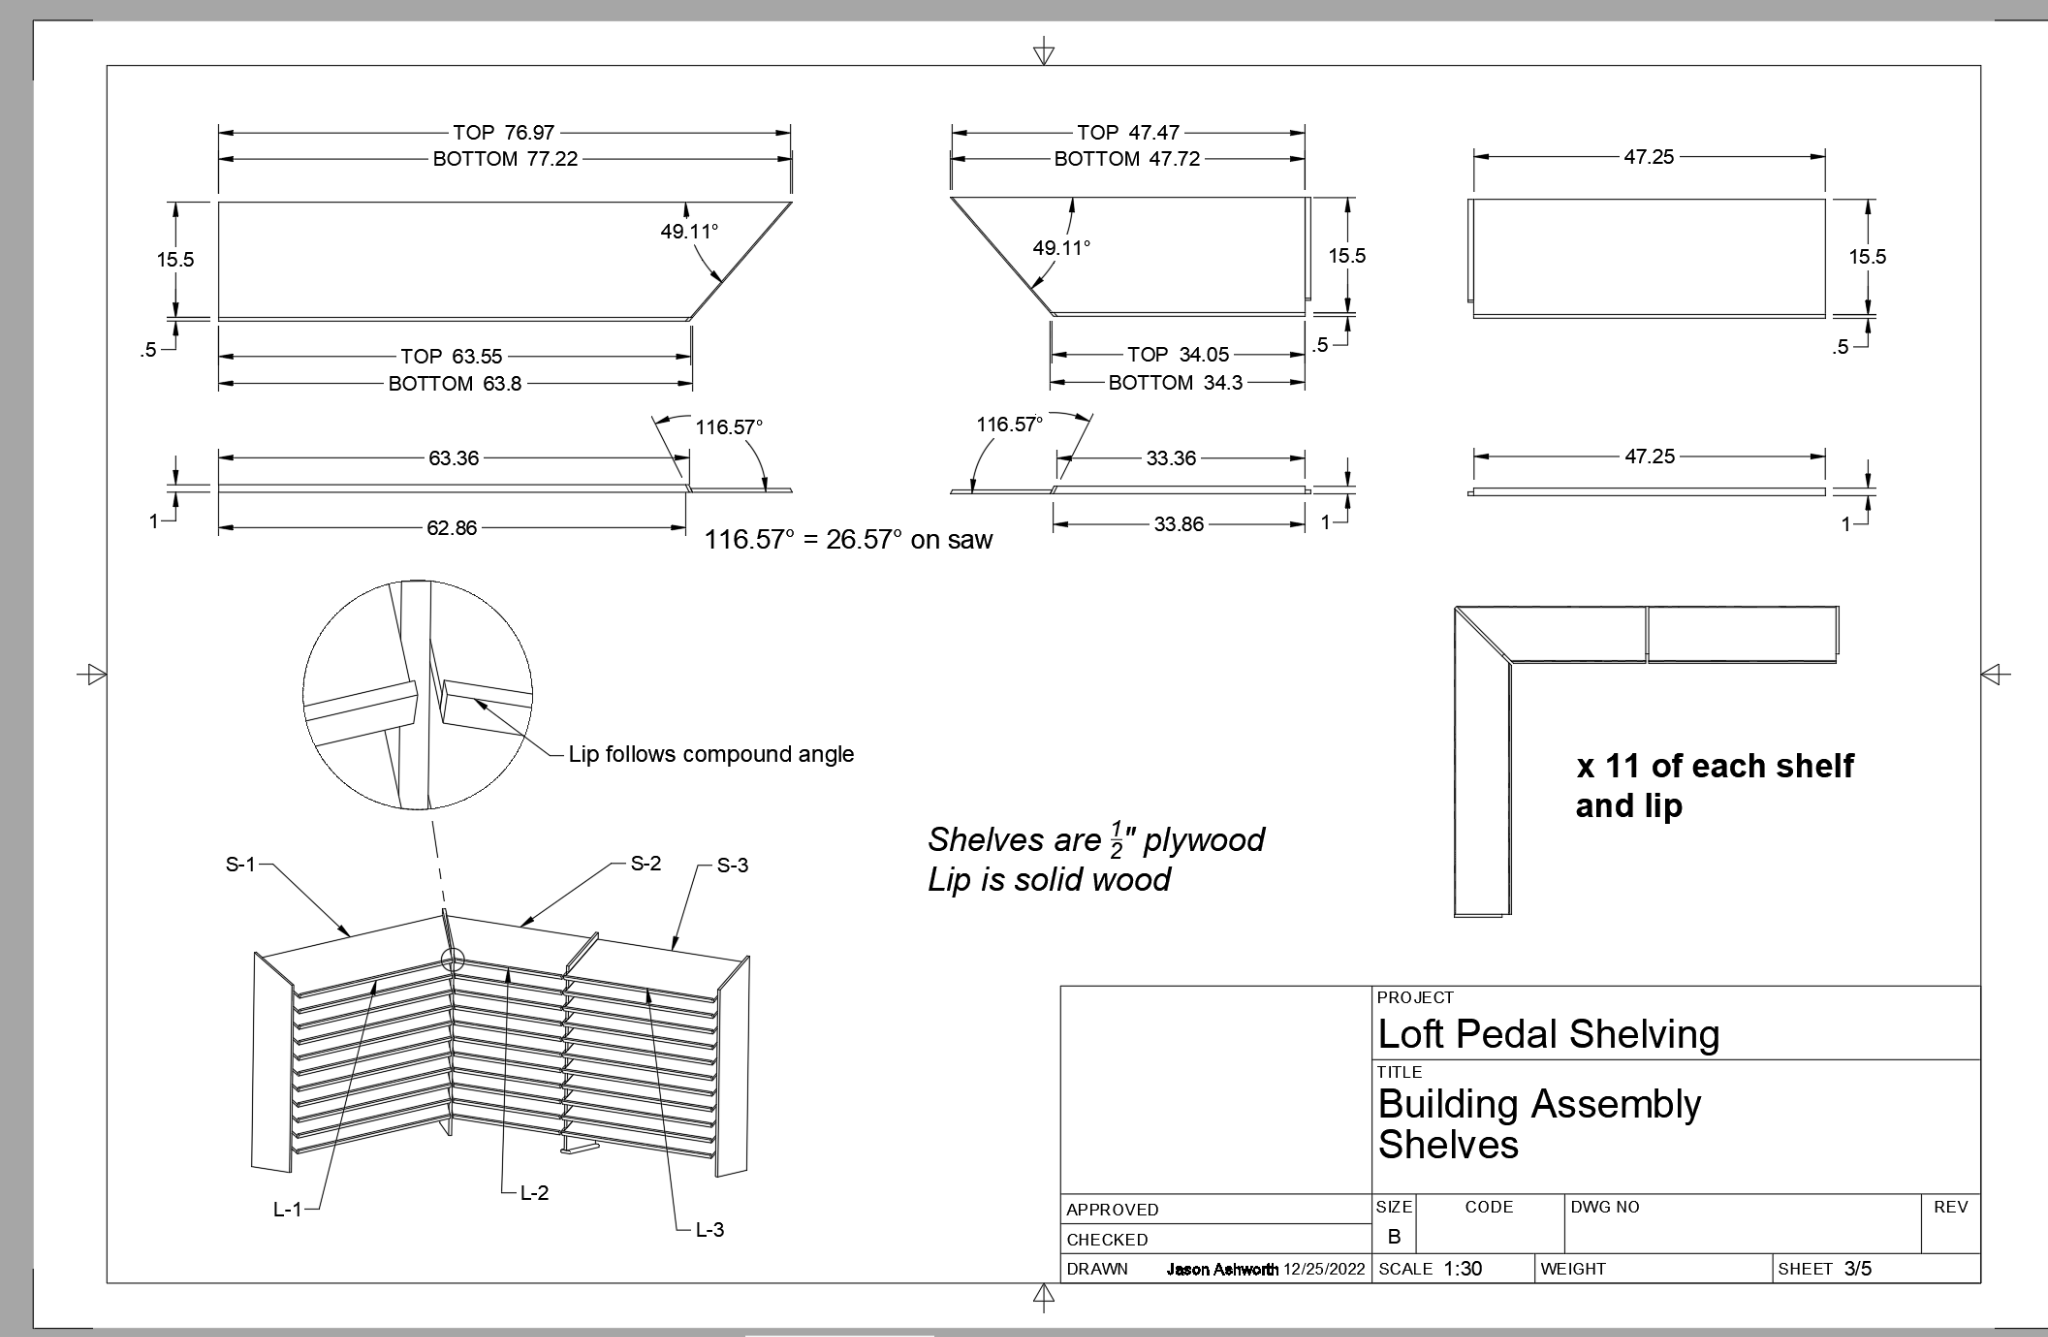
I was quite a doozy with all of the compound angles, but I’m quite happy with how it turned out.
Crosscuts were done with a track saw, which was tedious but safer than the table saw for such large pieces.
In hindsight I might have used 5/8” or 3/4” plywood for the shelves as opposed to 1/2”, but the front lip is made of hardwood and does a fairly good job of keeping things sturdy.
I’m thankful to have been entrusted with such a cool project!
Custom Oak Threshold
Smoothing Things Over
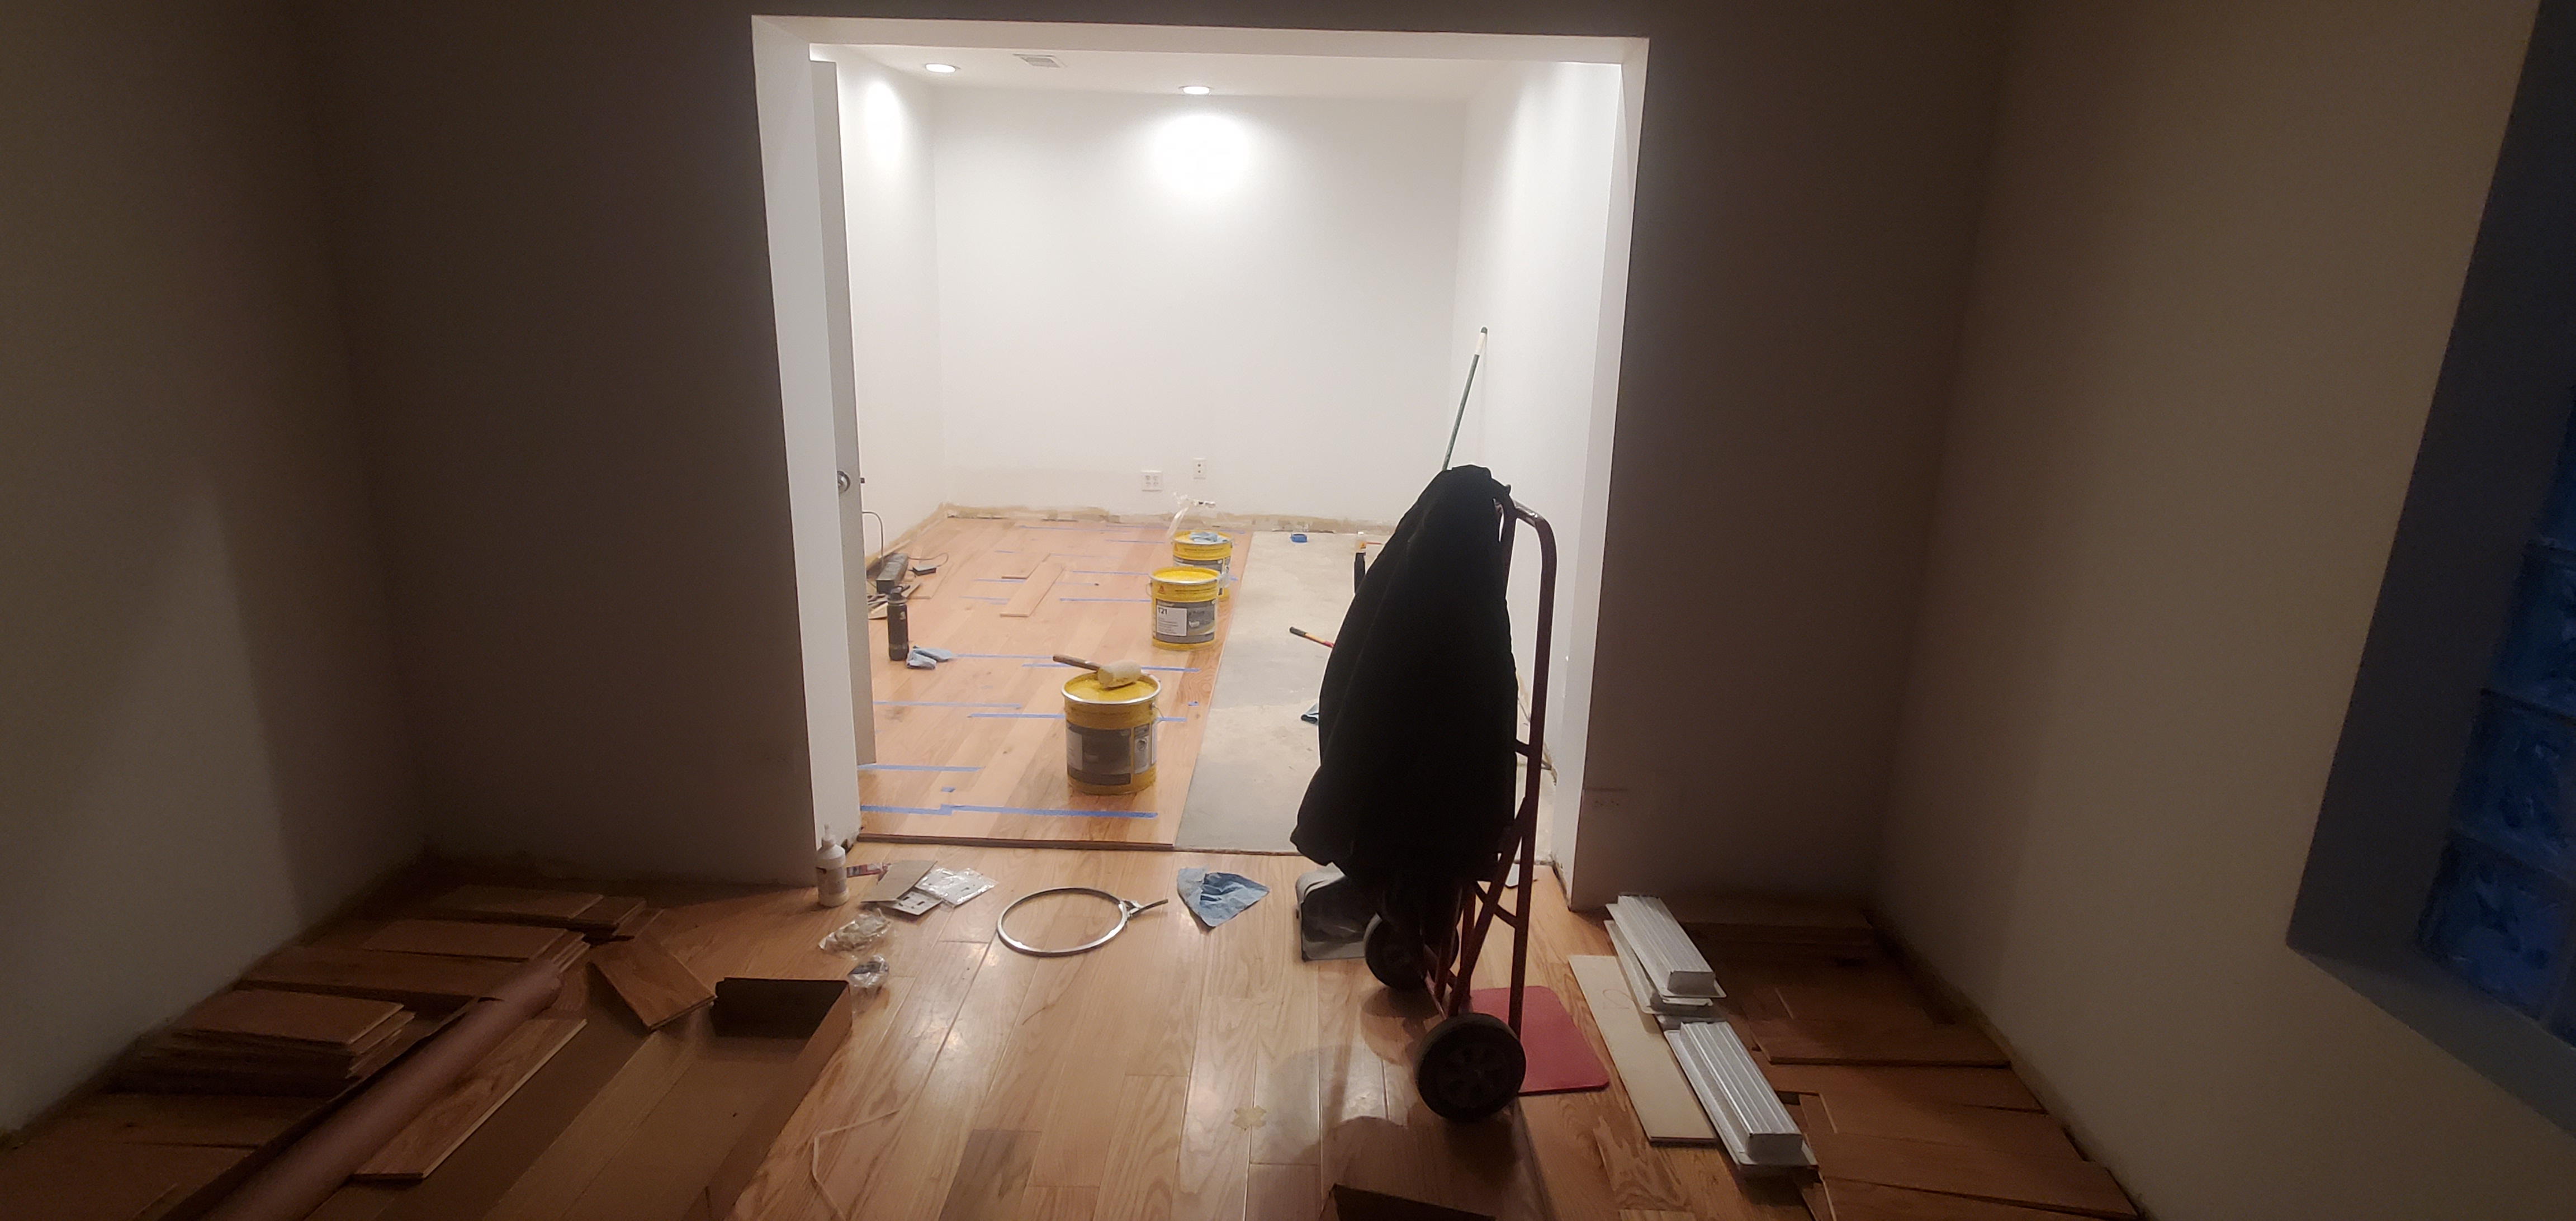
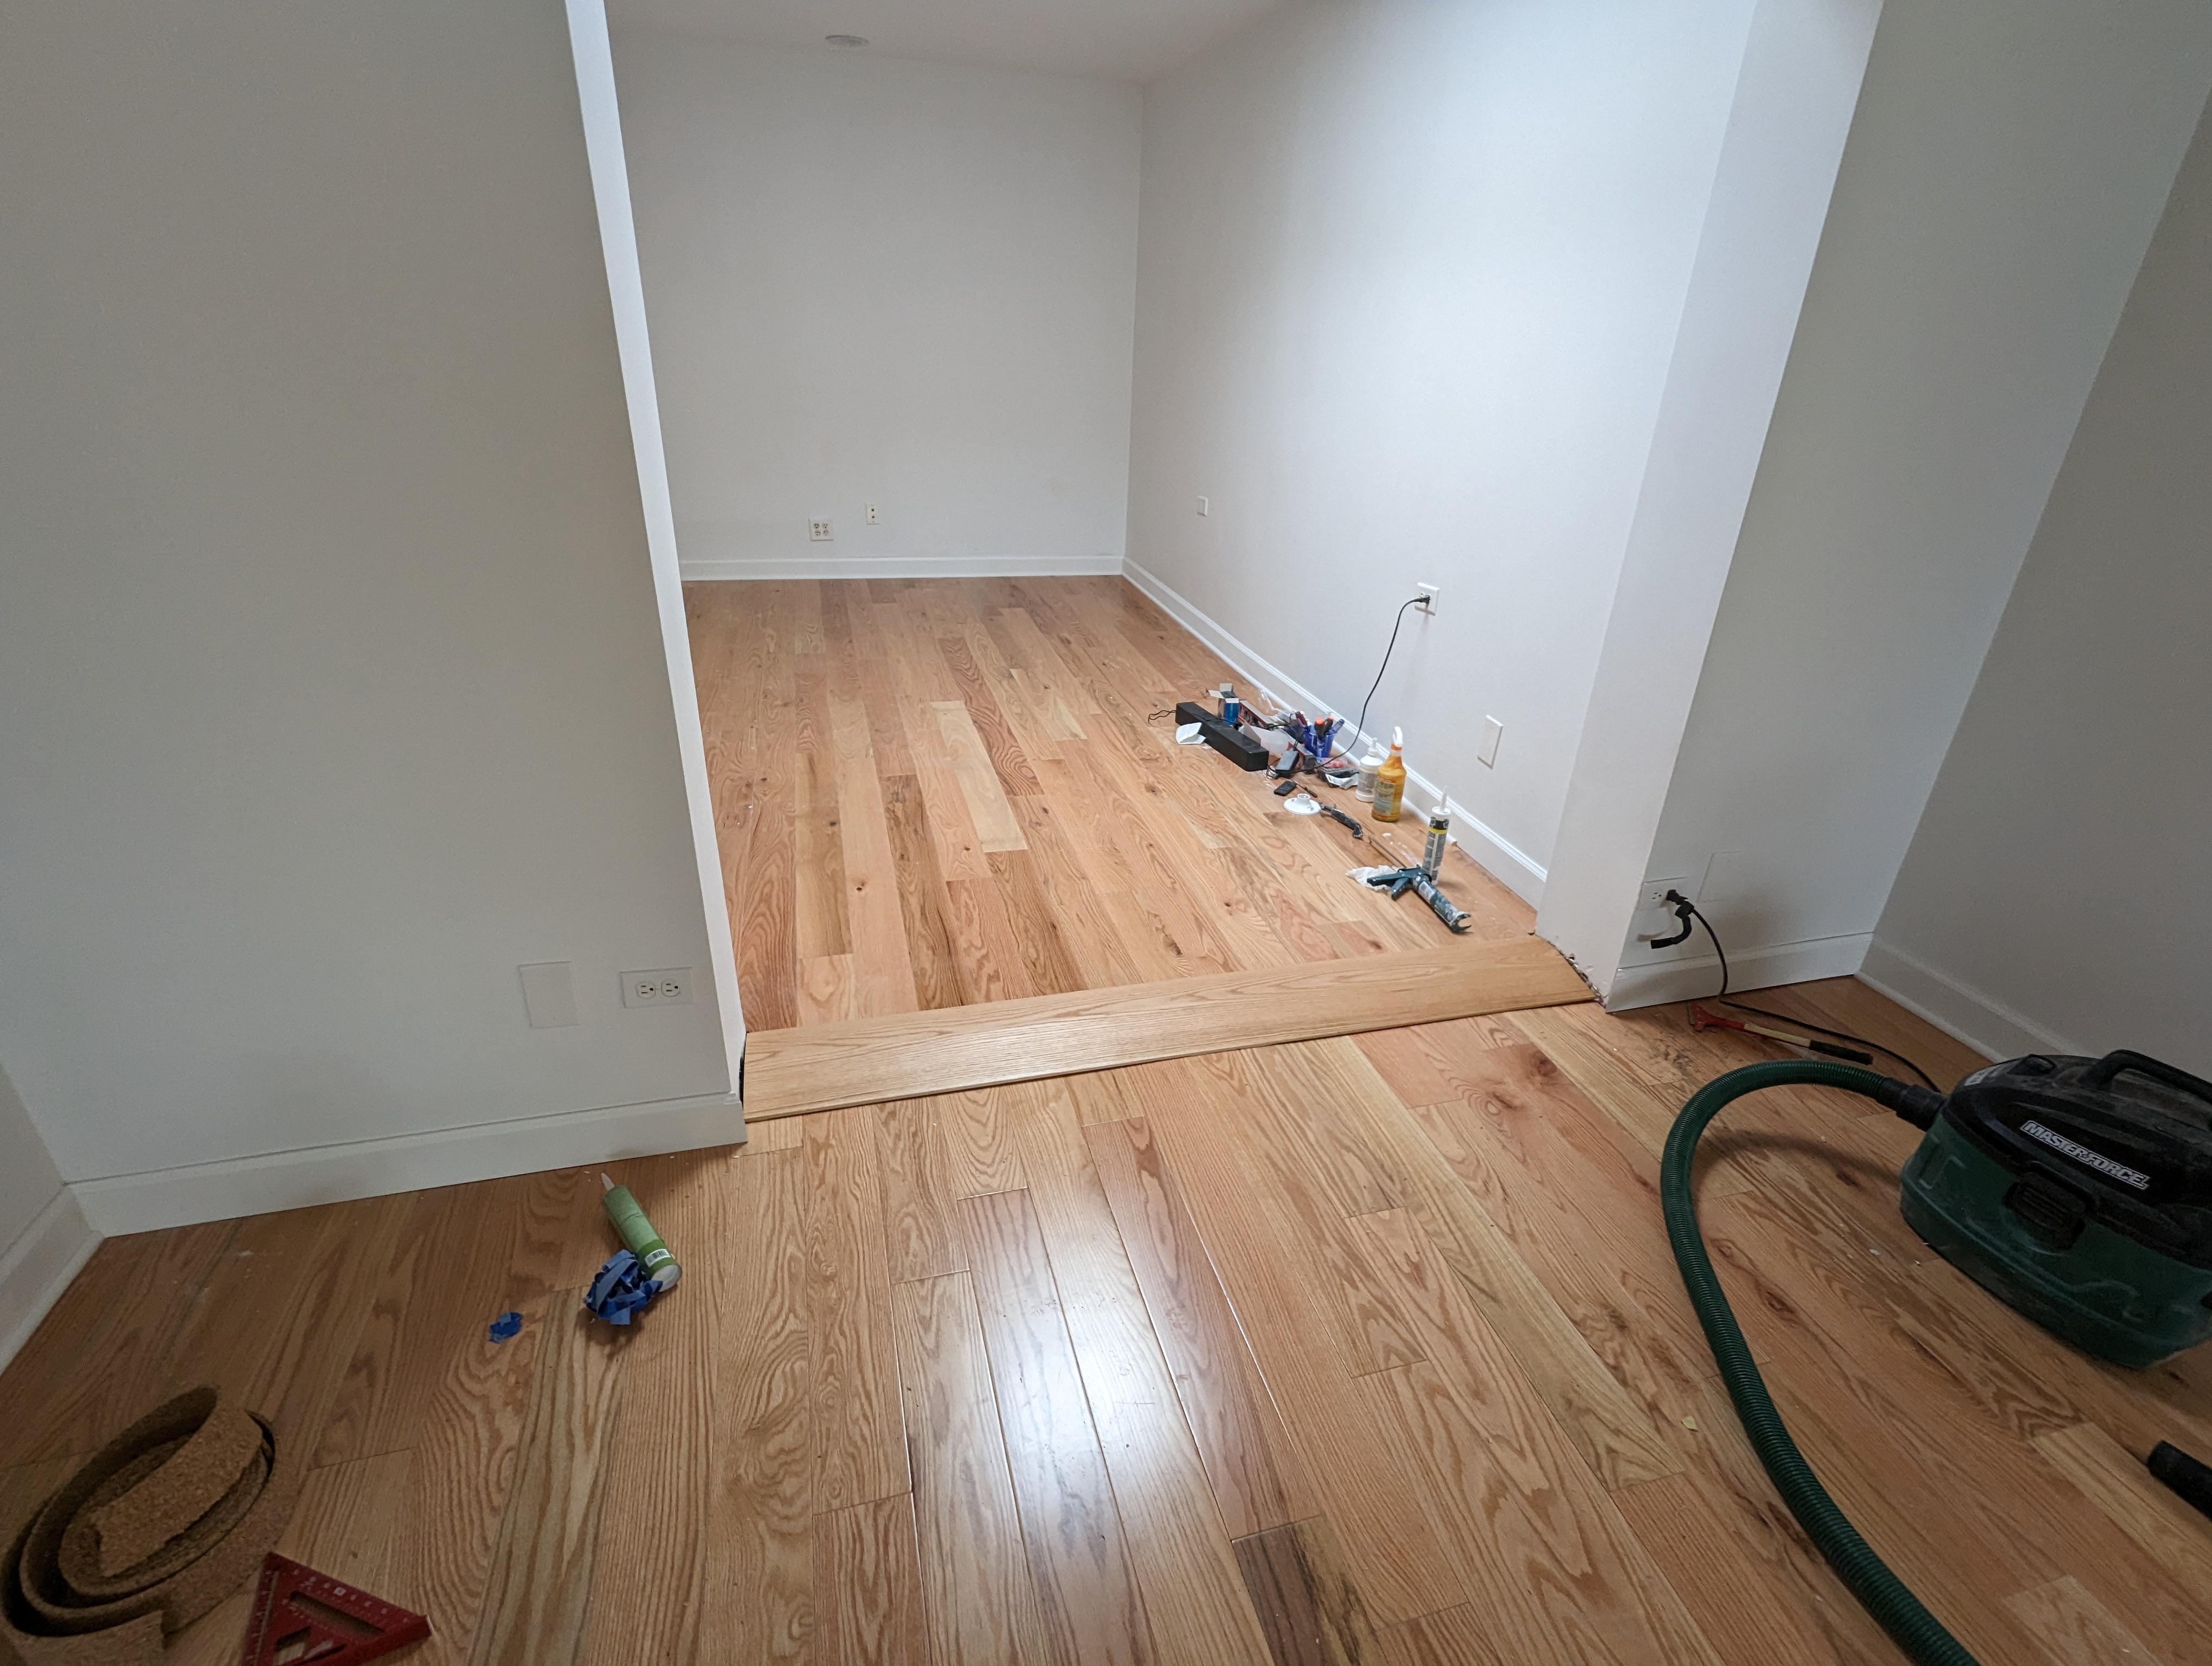
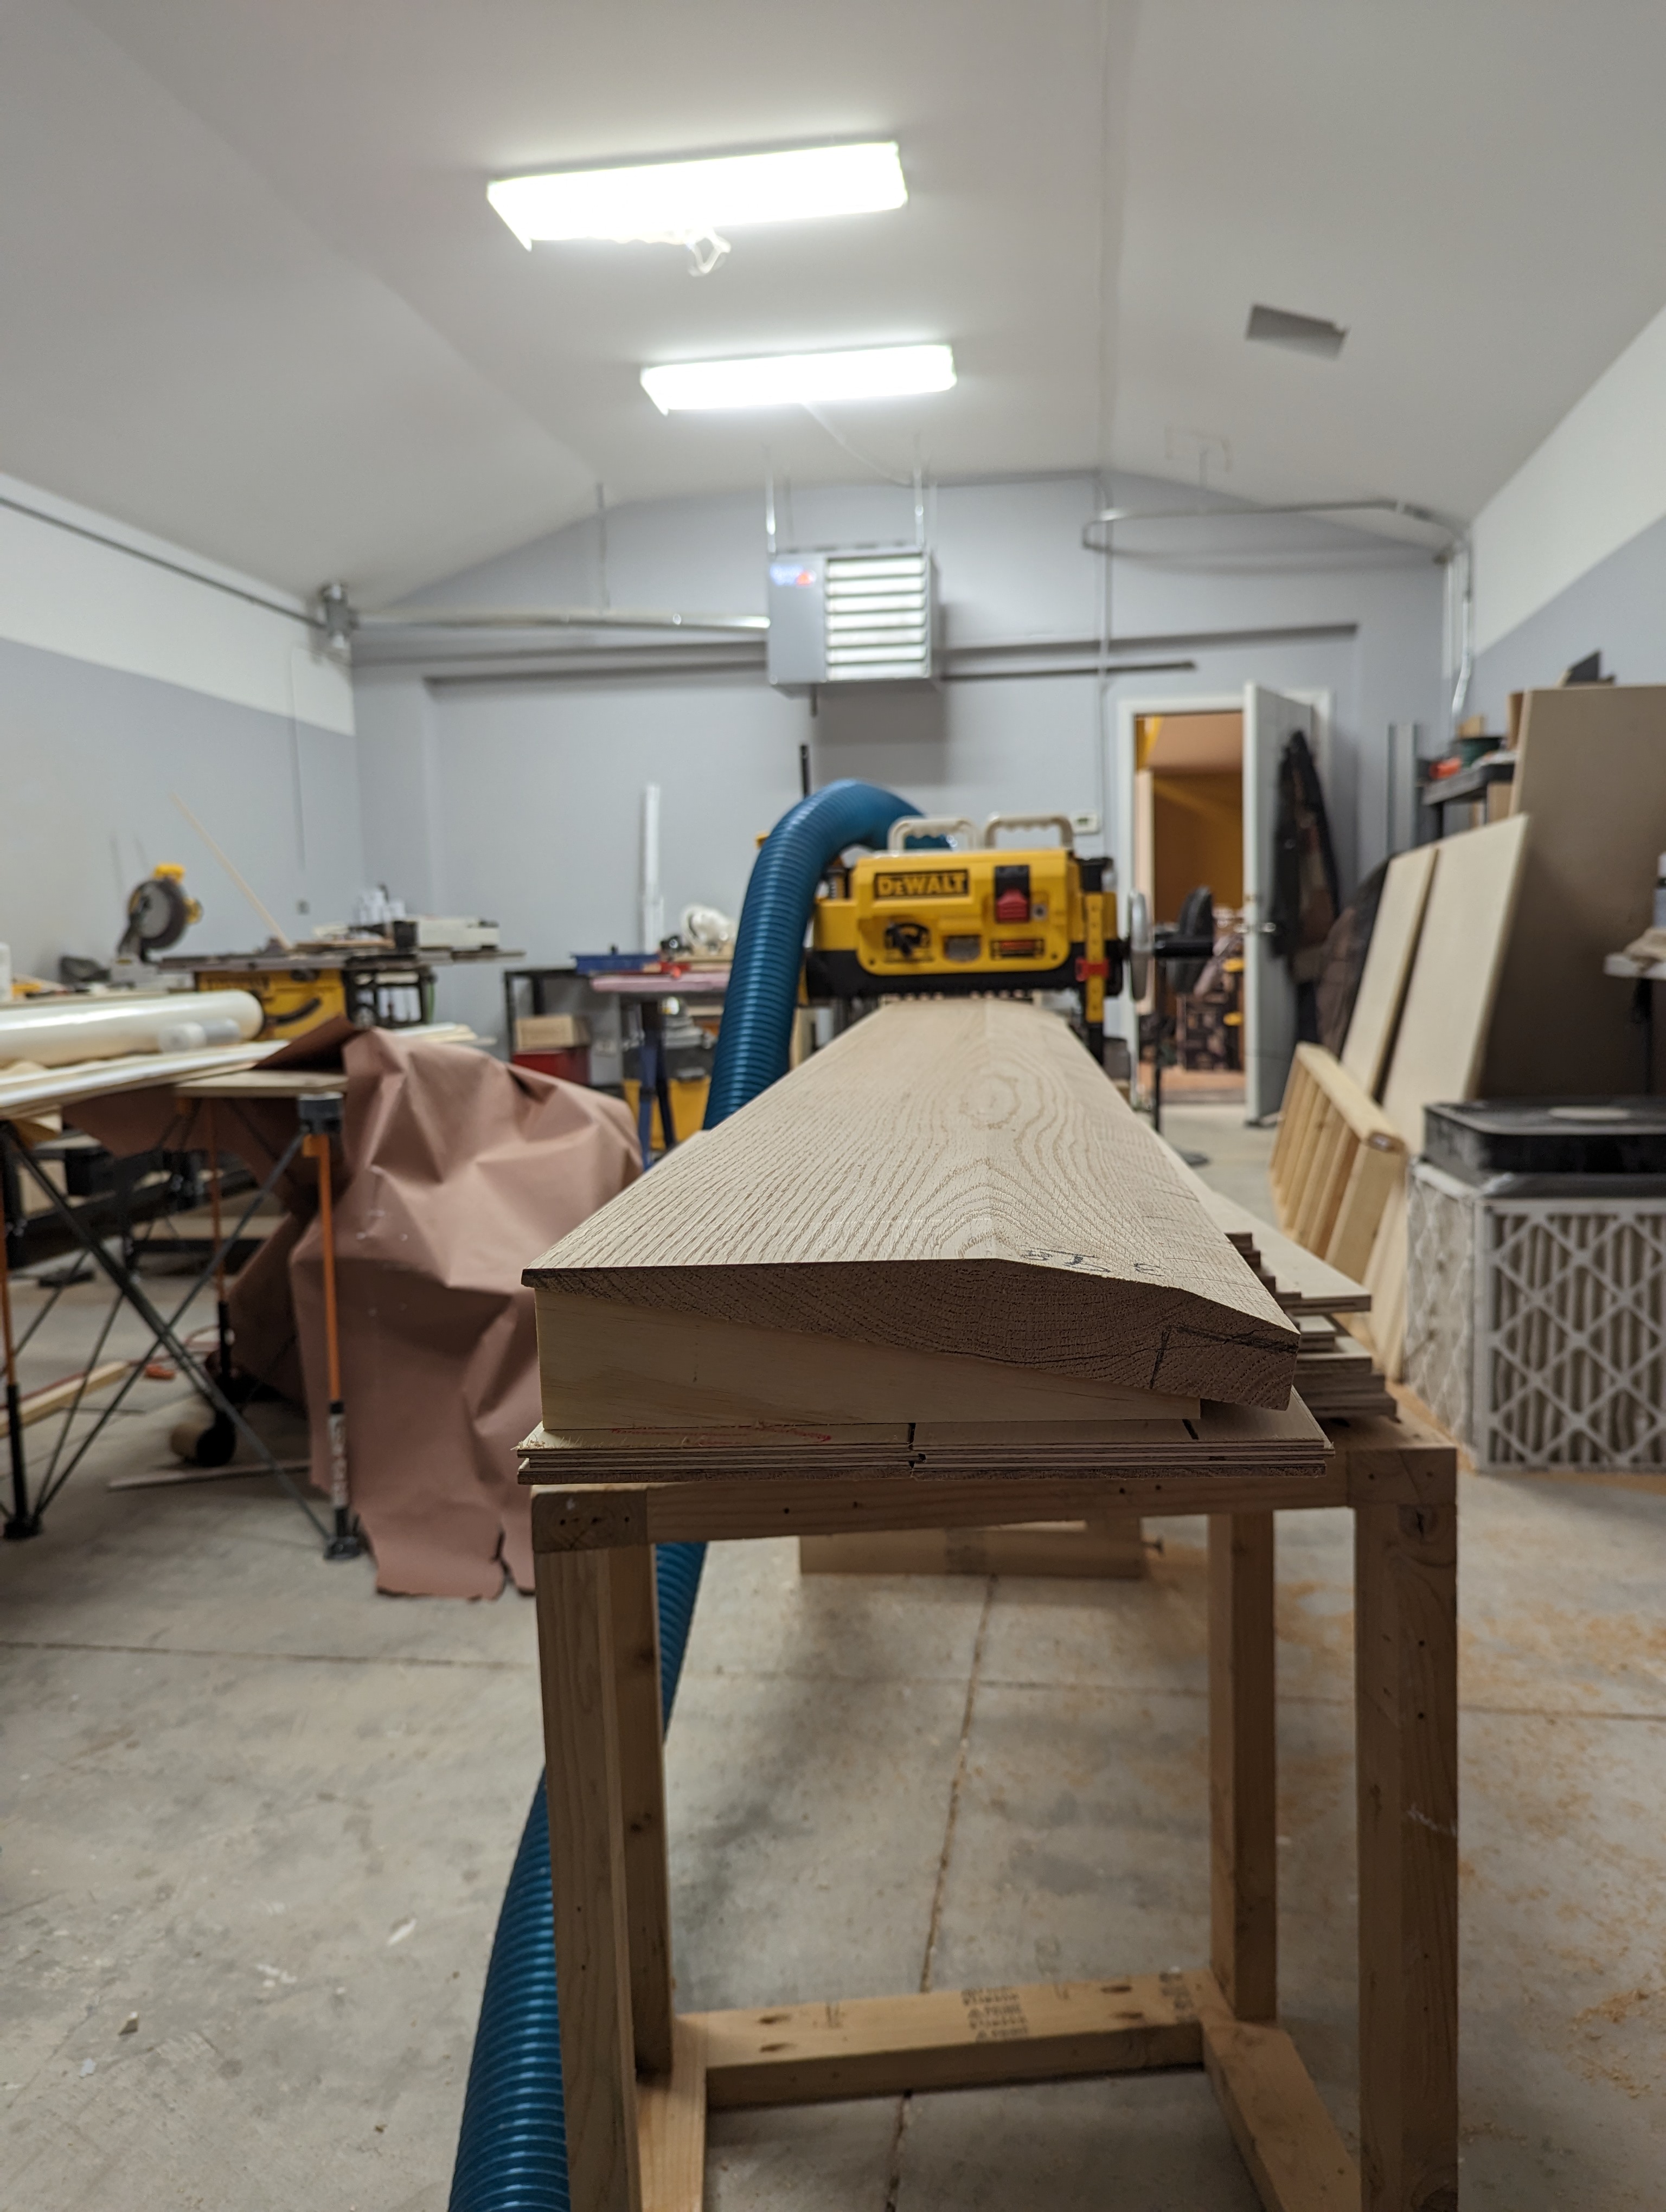
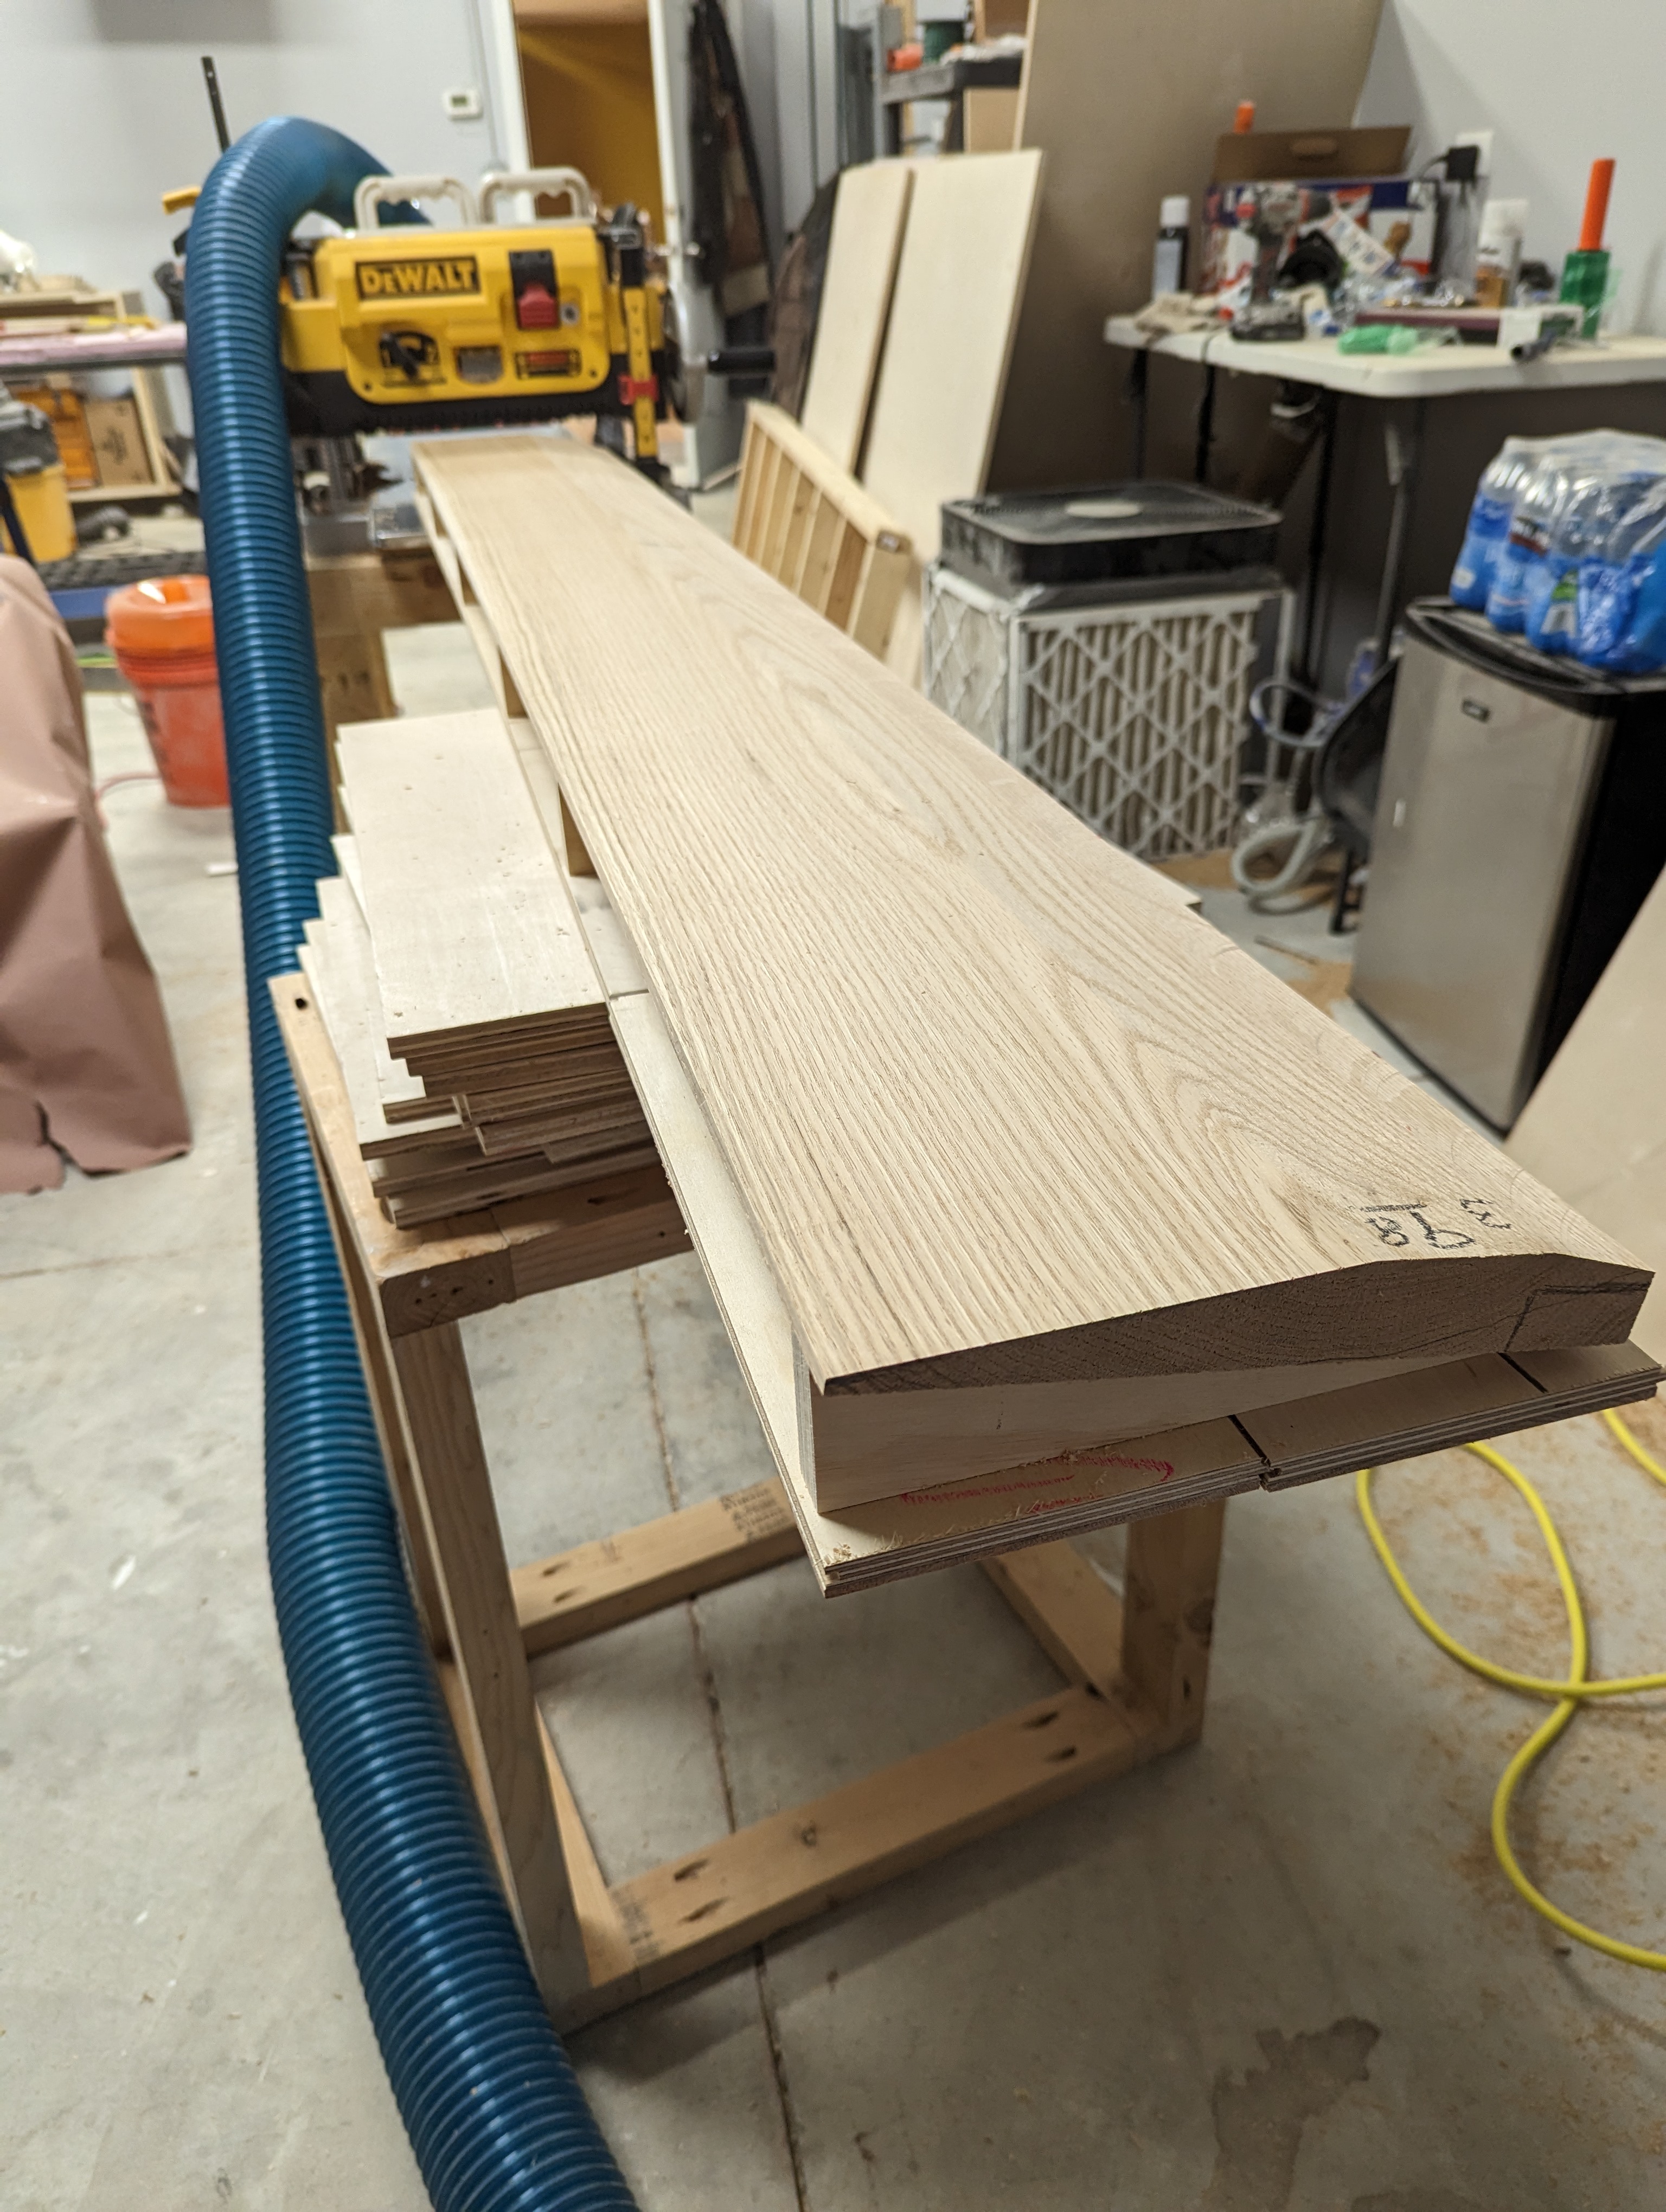
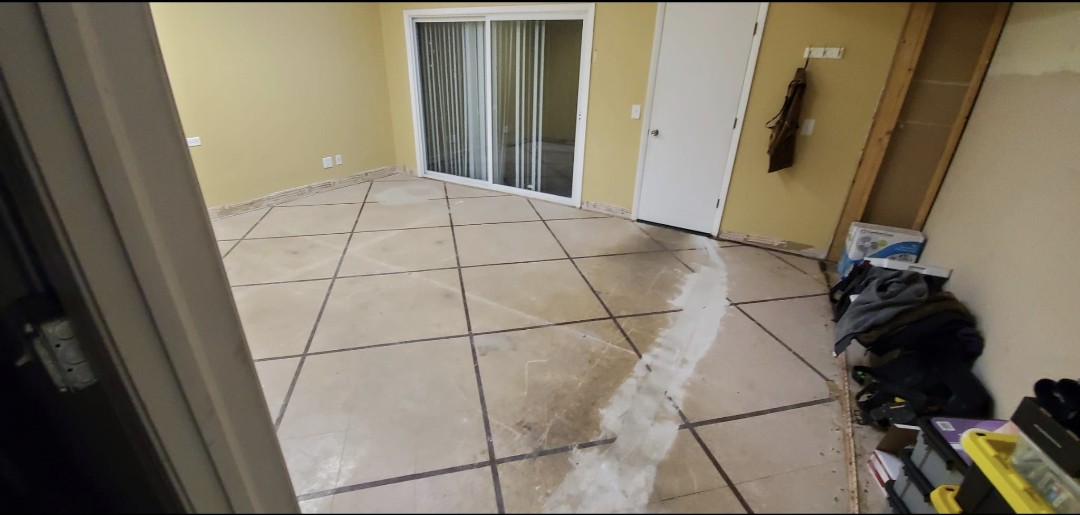
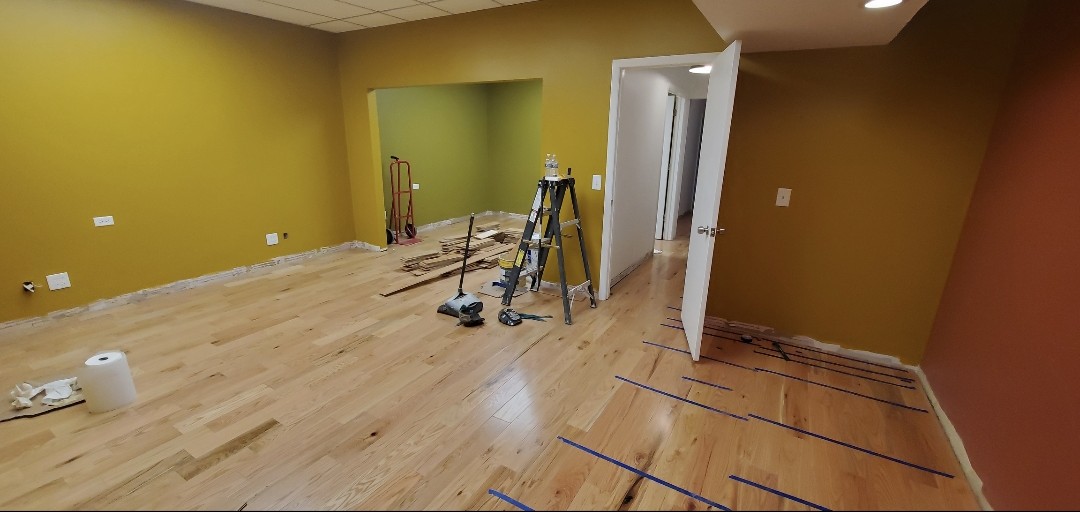
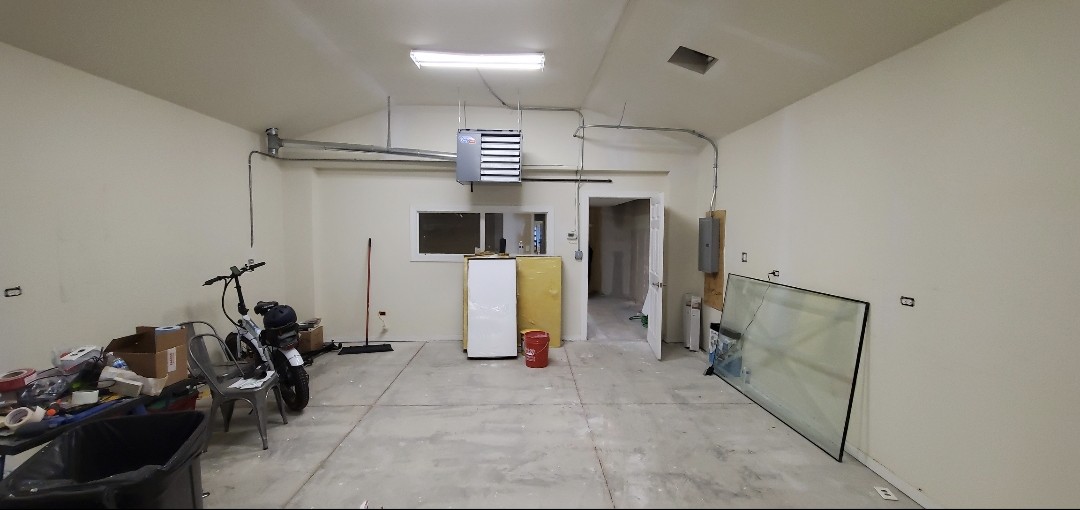
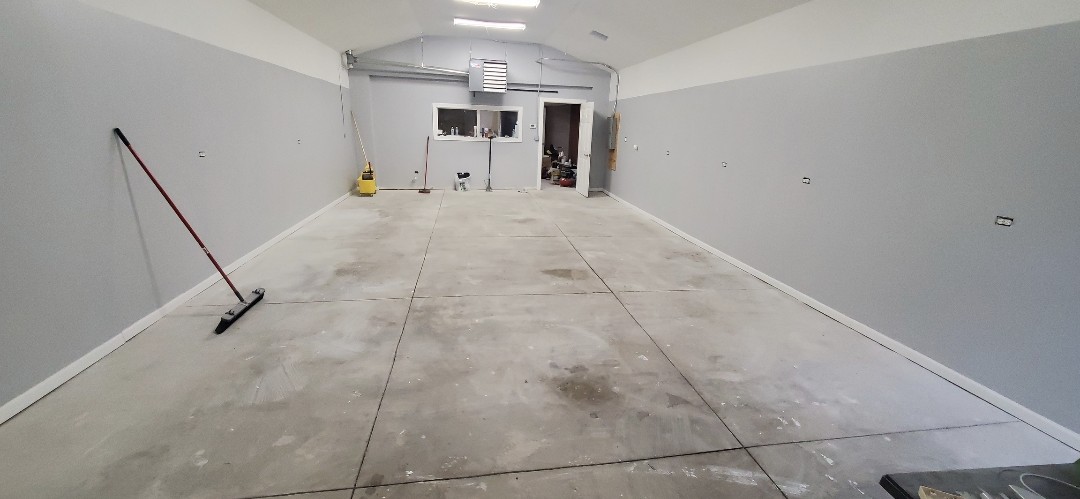
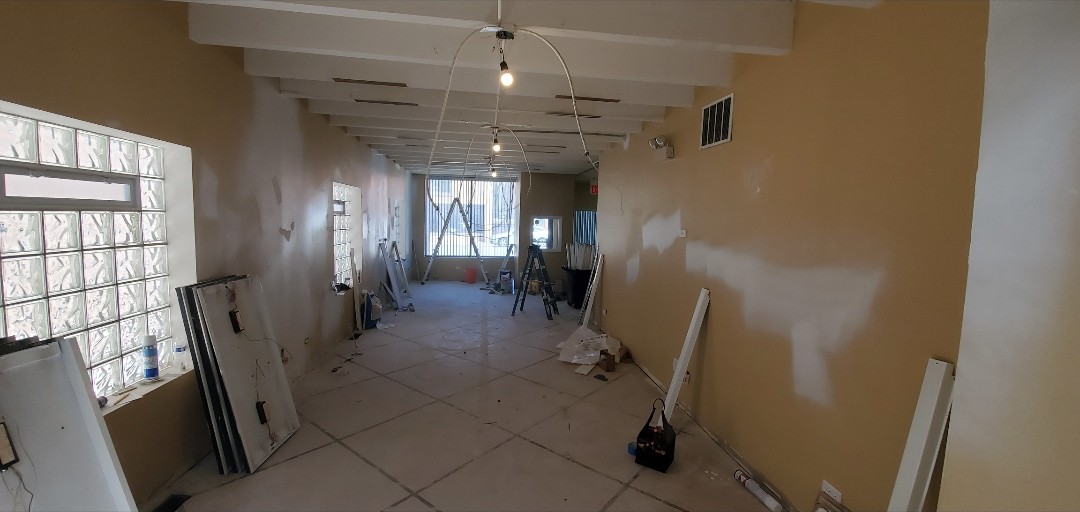
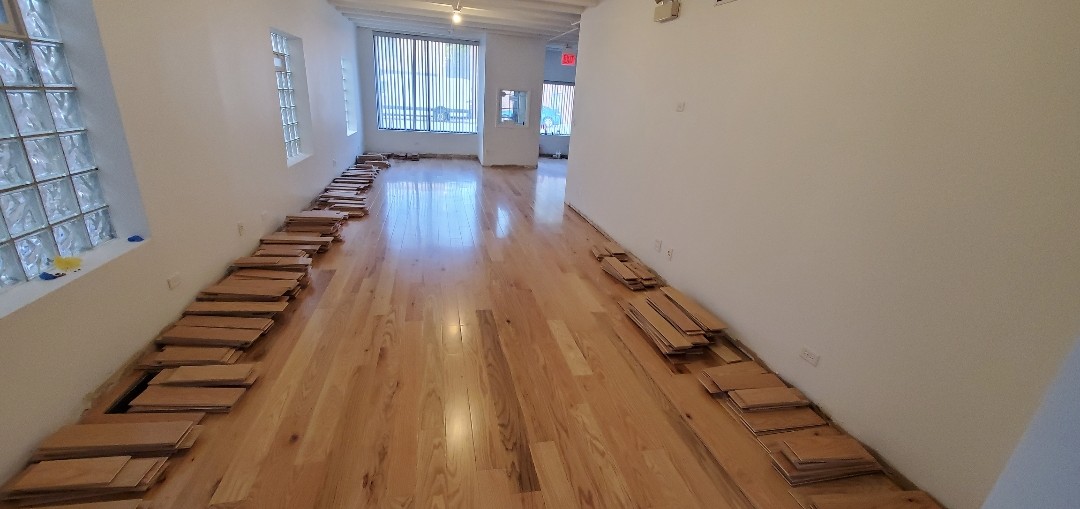
It would have cost LOTS of money for the amount of self-leveling concerete it would have taken to even out these floors, and since we were using 1/2” engineered hardwood (glued down on top level, floating on bottom), there was no way we were going to try and flex the flooring. It was either leave the ledge or create a threshold. The ledge was around 1” on one side and close to 2 1/2” on the other, so I had to scribe the ledge and cut the threshold profile at an angle to get it to sit properly. After much fiddling, chiseling, and hand sanding, it finally sit flush. I glued it down with construction adhesive and it’s held up nicely. I did finish the baseboards to follow the threshold as well, but I never got a photo of it. The photos show how the planer and some wedges took care of the bevels. I also included some before and after shots from the rest of the building. This was at my Dad’s workshop on Elston. Did nearly all of the renovations single-handedly including demo, flooring, paint, and other various revamps. I learned a lot and am overall happy with how things turned out and have held up.